Actions
When you select one or more recordings, available details and actions are shown in the Properties panel. From this panel, perform several actions, including annotate, lock, delete, and export.
Note
All of these actions are optional, and you may not have permission to use them. If needed, see your System Administrator for help.
Lock
Use Locks to prevent manual or automatic deletion, which is great for things like legal hold, complaint resolution, specialized retention, etc.
See Understand Locks for everything you'll need to know when working with locks, including how to lock captured conversations, live conversations, and multiple conversations at a time, how to export lock data, and the permission considerations when unlocking conversations.
A brief video has been created to demonstrate how to lock captured calls. See the Lock a Call Demo below.
To lock a captured conversation, in the Properties panel, either:
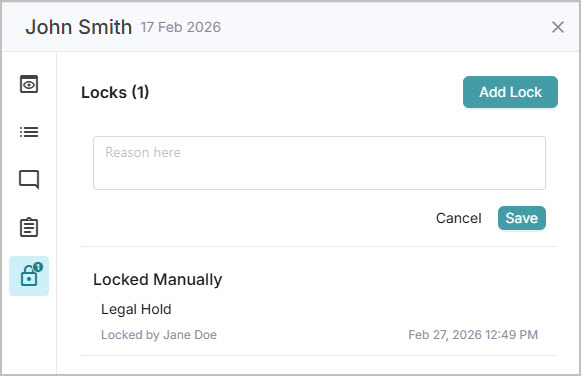
Click the Locks icon, then click Add Lock and enter a reason for the lock (used to identify individual locked items) and click Save.
In the Summary tab, click Actions > Add Lock and enter a reason for the lock (used to identify individual locked items) and click Add Lock.
Tip
Try to keep the reason for your lock short, simple, and consistent (e.g., LegalHold#245 or Complaint#347).
Lock Reasons can be searched for in the Recorded tab, just select by Transcript, Annotation & Lock Reason in the search dropdown and enter your text in the search bar. Your results are then filtered for matching conversations.
The Locks icon shows a number that indicates any current locks applied to the recording: 0 if no locks are present and a number greater than zero if there are locks. Click the Locks icon to show all current locks, add another lock, or remove a lock (if you're authorized).
 |
Tip
In your search results, a Lock flag is displayed to the left of all calls that have locks. For more information on flags, see Flags.
The following video demonstrates how to lock and unlock captured conversations.
Delete
Warning
Once a recording has been deleted, it can’t be retrieved – only associated audit logs will be retained.
If you no longer need to keep a recording, you can delete it from the system. To delete a recording (media and metadata), go to the Properties panel, click Actions, and click Delete. You are prompted to confirm the action. See Delete Calls Demo below for a video demonstration.
Note
If a recording has been locked (either by you, somebody else, or an automatic lock), you need to remove the locks first before you can delete the recording.
The following video demonstrates how to remove a captured call.
Annotate
Annotations can be used to add customized metadata to recordings; notes, follow-up actions, tags, etc. Annotation entries are added to the recording's metadata. Users can use the Search Bar to filters their conversations for annotations that include the entered text (the search also shows matching transcripts and metadata values).
A brief video has been created to demonstrate how to add annotations to your calls. See the Annotate Calls Demo below.
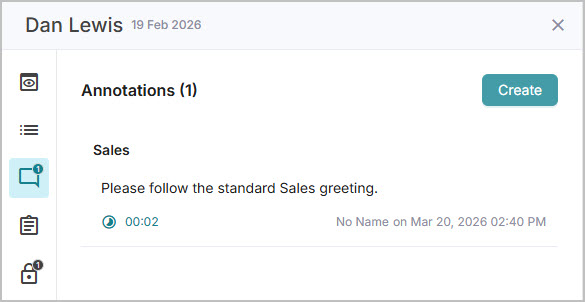
To view current annotations for a recording, click the Annotation icon in the Properties panel tab. The number of annotations a call recording has is indicated by a number above the annotation icon. If a recording has at least one annotation, an annotation flag appears to the left of the call in the results panel.
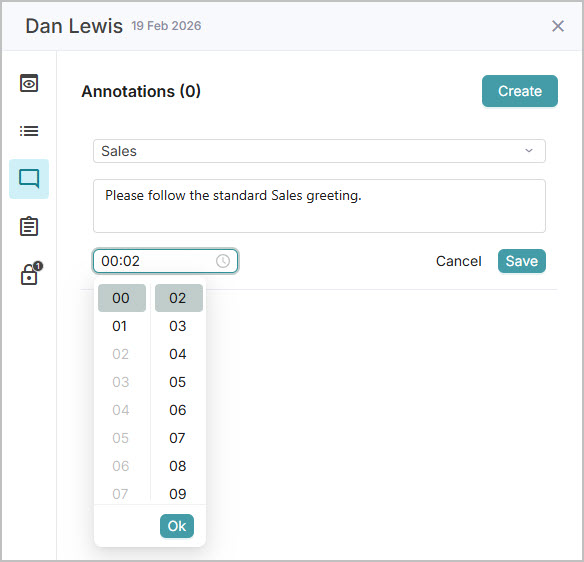
To add an annotation to a recording, select the Annotation tab in the Properties panel and click Create. Select your annotation type from the dropdown, enter the details, and if you’d like to relate the annotation to a specific point in the recording, you can define an offset (in the format minutes:seconds) and click Ok. If you're already playing a call, the offset will be set to where you are in the call, but it can be changed if needed. If you specify an Offset, the Annotation icon displays at that exact point in the media player. When you’re done, click Save to add the annotation entry to the recording.
Note
If no annotation headers exist, a system administrator must first create one (Configuration> Recording Control > Annotation Headers > + Add New).
The following video demonstrates how to add annotations to your captured calls.
Export
Caution
Exported recordings are exported as unencrypted, accessible format data files. Once exported, the data should be regarded as “uncontrolled”, so you likely want to implement additional data protection measures for these files.
Exporting the metadata of recorded calls exports all the captured metadata for those calls, and is not limited to the columns visible in your search results.
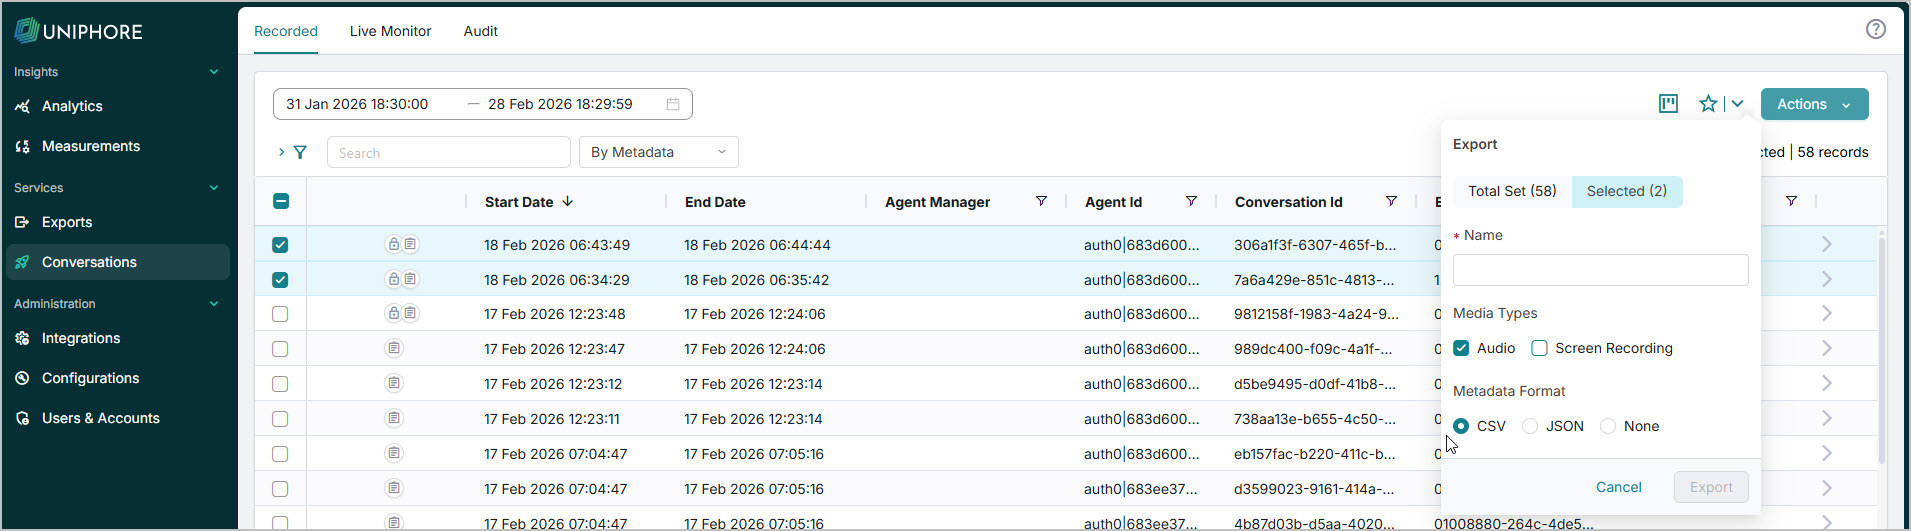
You can export call audio to a WAV file and metadata to a CSV file using the Export features. To export, select the calls to export using the selection boxes to the right of each call, click the Export icon in the top right, enter a name for your export, select your Media Types, and Metadata Format, and click Export. Your export is then available on the left, under Exports.
A brief video has been created to demonstrate how to export and download your calls. See the Export Calls Demo below.
Note
To export all calls, either use the select all selection box at the top of the results to select all the calls and then follow the export steps above, or click the export icon, select all the calls by clicking Total Set (xx), then follow the usual export procedure.
Export can also be used with filtered search results. Use search filters to refine your search results to match specific criteria, such as Call Date Range. For more information on search filters, see Refine Your Search .
Exporting Filtered Search Results:
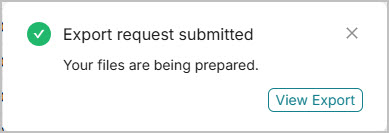
Your export is then processed and made available on the Exports Services page – see Exports Page below. When the export request has been submitted, a useful pop-up appears with a quick link to the Exports page. |
 |
Exports Page
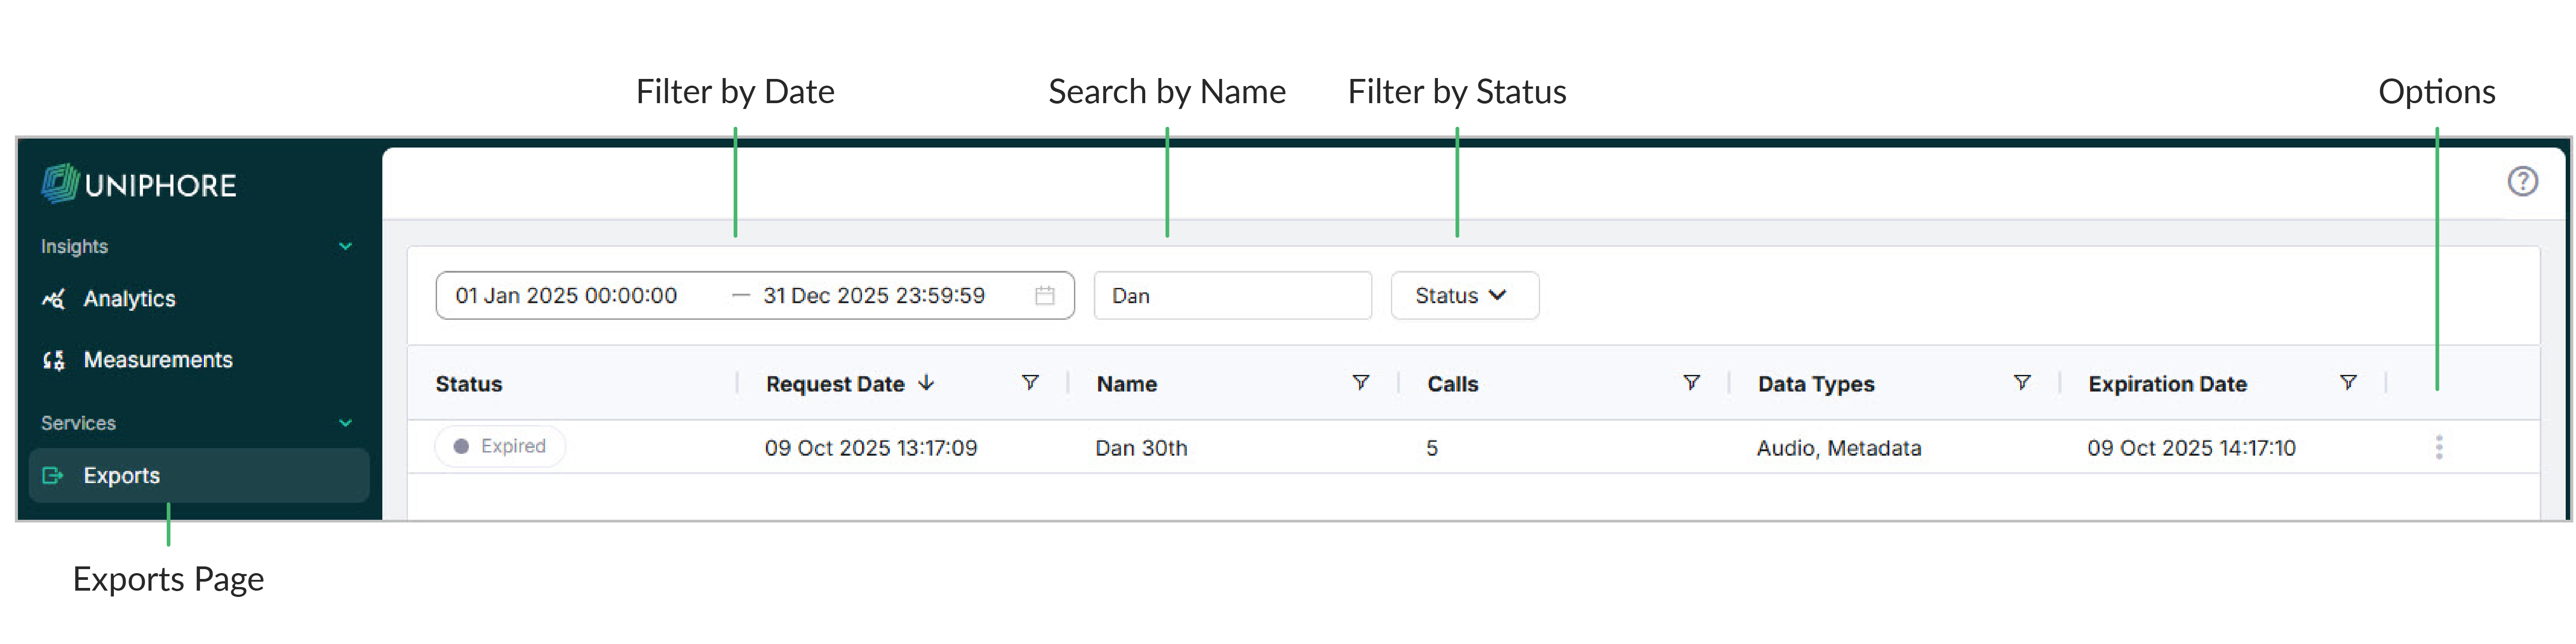
Your exports are available on the Export page on the side menu under Services. On the Exports page, see all available export packages and their details, Status/Progress, and Expiry Date. By default, exports expire 1 hour after they were requested. If you have many exports in your list, filter them by Date, Search, and Status. When you’ve found the export you’d like to download, click the dots to the right of the export and click Download. You can also delete exports from the system here.
The following video demonstrates how to select, export, and download specific calls.