User Management
Important
Only account Administrators have access to the User Management.
The User Management feature controls access to features and actions within Customer Service AI .Access is managed through user groups that define specific permissions and entitlements for Organizations and Categories. Every user in Customer Service AI must be assigned to a group.
When you assign a user to a group, that user automatically receives all the features and permissions that group includes. Group assignments are managed by Administrators based on each user's job function and responsibilities.
Customer Service AI provides a default group for each role. Administrators can also create custom groups to meet specific organizational needs and assign them to users according to their roles.
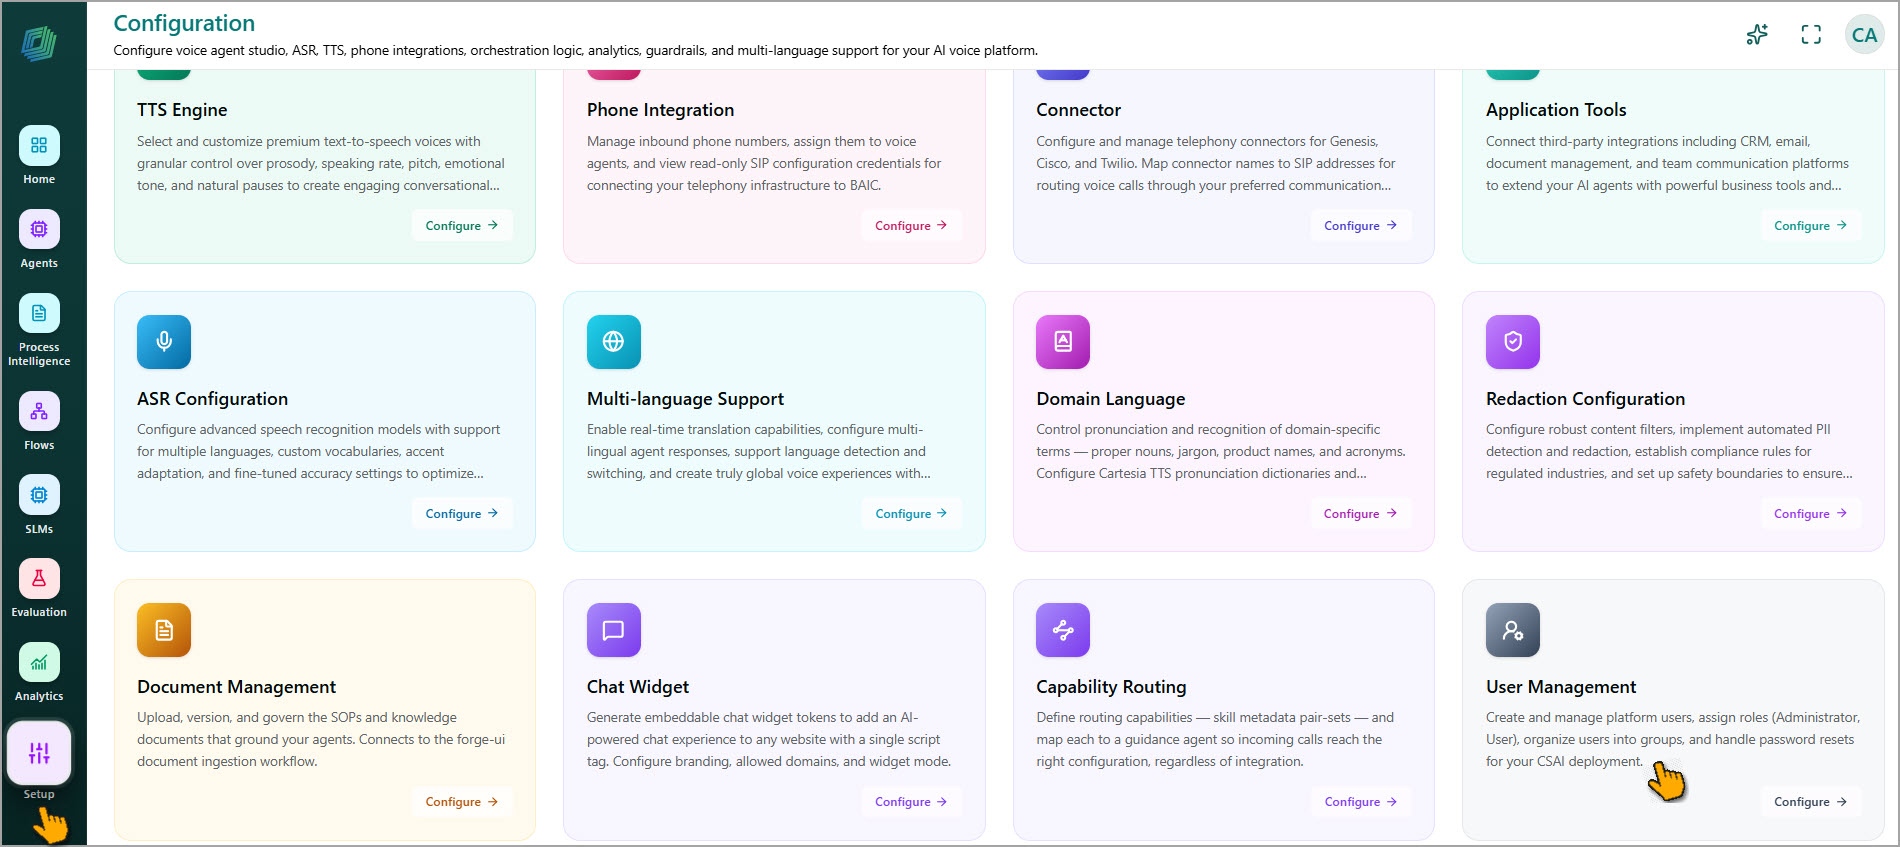
Click Setup ( ) in the left navigation menu, and then select the User Management tile. The User Management page is displayed with a complete list of users associated with your account.
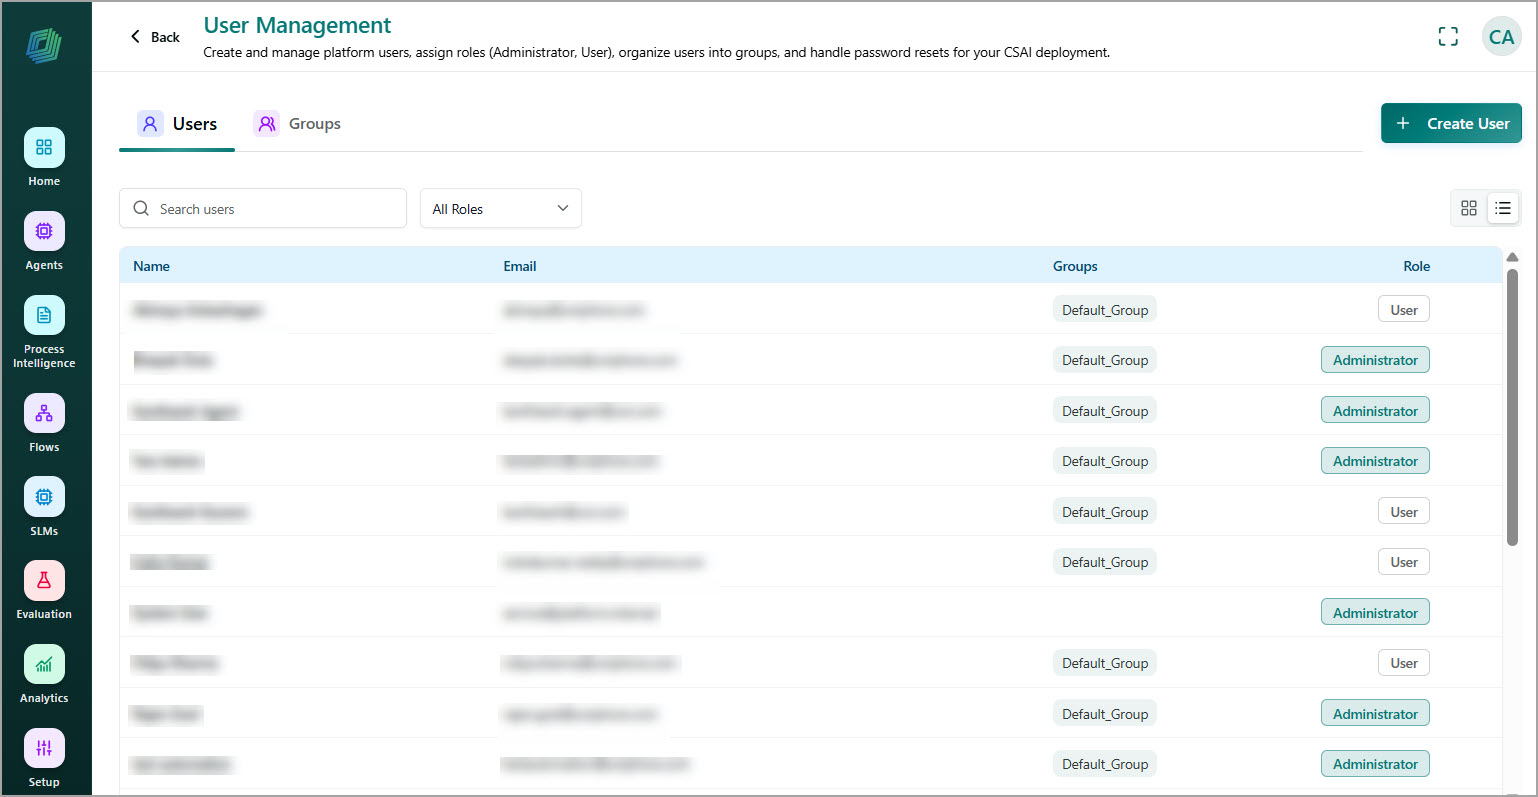
Creating Users
You can create new users directly from the User Management page.
To create a new user:
Click + Create User. The Create User window opens.
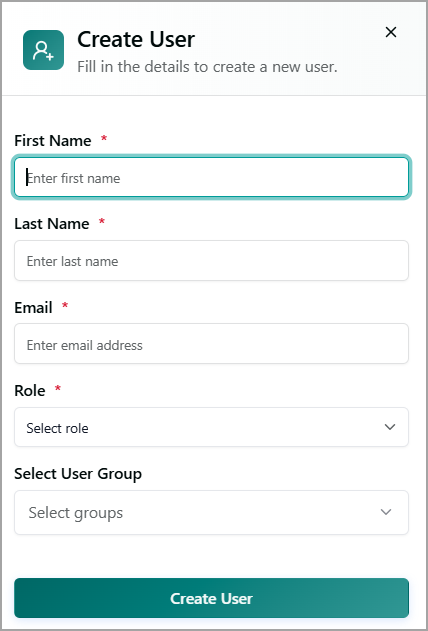
Enter the user's first and last name.
Enter the user's organization email address.
Choose any one of the following roles from the dropdown:
User - Standard access with permissions defined by the default user group.
Administrator - Full access to User Management and Customer Service AI configuration.
Select one or more user groups from the dropdown.
Tip
The dropdown displays all user groups created in your account. To create a new group, refer to Creating User Groups.
Click Create User. A success message confirms the new user has been created and associated with your account.
Viewing and Modifying User Details
From the User Management page, you can view a user's profile and group assignments, update user details, and reset the user's password.
View User Details
Click the Ellipsis (
 ) icon in the row of the user whose details you want to view and then select View. The user's profile information and assigned user groups are displayed.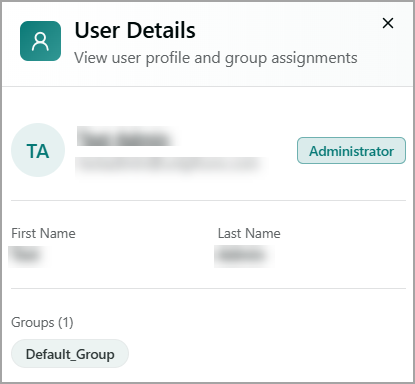
Modify User Details
Click the Ellipsis (
) icon in the row of the user whose details you want to edit and then select Edit.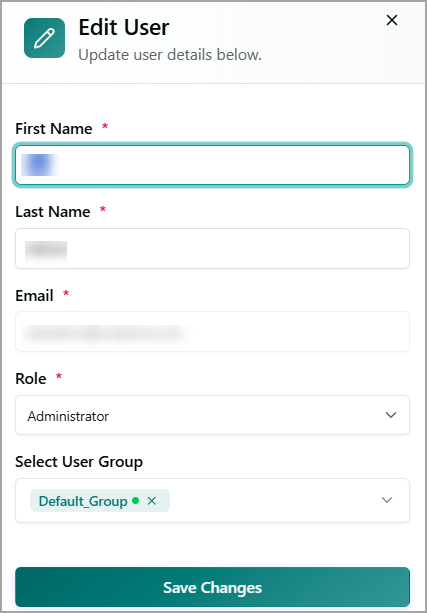
Update the required user details. The user's email address cannot be modified.
Click Save Changes.
Reset Password
You can reset a user's password if they have forgotten it or require a new one.
Click the Ellipsis (
) icon in the row of the user whose password you want to reset, and then select Reset Password.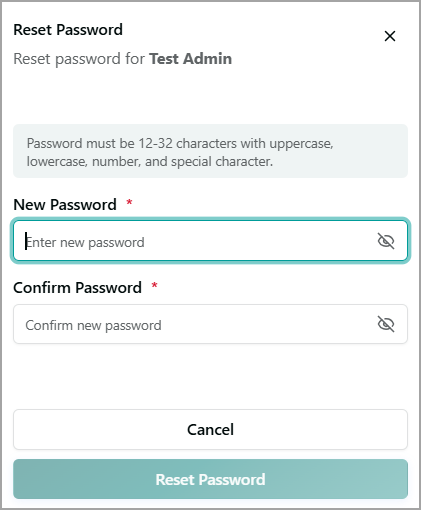
Enter a new password that meets the password requirements.
Re-enter the same password to confirm.
Click Reset Password to apply the changes. The user's password is updated and will take effect on their next login. To cancel your activity at any time, click Cancel.
Creating User Groups
A User Group is a collection of users who share the same access permissions and entitlements. You can create new user groups directly from the User Management page.
To create a new user group:
Click the Groups tab. It displays a complete list of user groups associated with your account. You can switch between table and card layouts for viewing user groups.
Group Name - Displays the name of the user group.
Description - Displays the user group description.
Members - Displays the number of users currently assigned to the group.
Status - Indicates the current status of the group. Possible values include:
Active – The group contains users and is available for use.
Inactive – The group currently has no active assignments or is not in use.
Default – The default system group to which new users are assigned unless another group is specified.
Click + Create Group. The Create Group window opens.
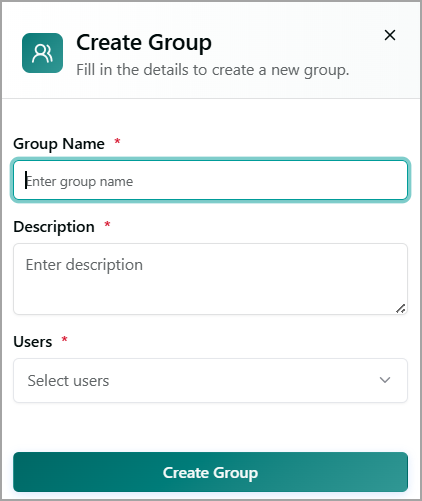
Enter a name for the group that reflects its purpose or the team it represents.
Enter a detailed description of the group.
Select one or more users from the dropdown.
Click Create Group. The new user group is created and added to your account.
Viewing and Modifying User Groups
From the User Management page, you can view, update, and activate user groups as needed.
View User Group
Click the Ellipsis (
) icon in the row of the user group whose details you want to view, then select View. The user group details including the group's name, description, status, and the list of users assigned to the group are displayed.
Modify User Group
Click the Ellipsis (
) icon in the row of the user group whose details you want to edit, then select Edit.Update the user group name and description, and add or remove users as required.
Click Save Changes.
Activate User Group
Inactive user groups can be reactivated when they are required again.
Click the Ellipsis (
) icon and select Activate to activate the user group. A confirmation message is displayed. The user group status changes to Active.
Delete User Group
Only active user groups can be deleted.
Click the Ellipsis (
) icon and select Delete to delete the user group. A confirmation message is displayed. The selected user group is permanently removed from your account.