Actions
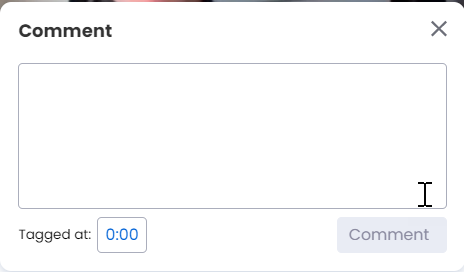
Comments can be added at selected locations in the Timeline Track. Enter your comment in the comment box and click the Comment button. The time, in HH:MM:SS format, at which in the Timeline Track the comment was added is displayed as "Tagged at" information. These comments are useful for sales reps to introspect their meetings. The comments thus added can be viewed from the Comments section in the Feedback tab.
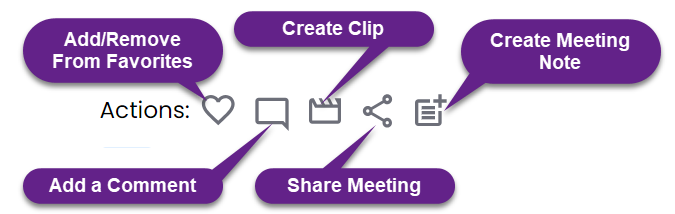

If the icon is clicked again the meeting is removed from favorites, a success message pops out and its color turns white.
Add/Remove from Favorites
Click to add the meeting to favorites. After the icon is clicked a success message pops out and its color turns pink ( ).
).

Add a Comment
Click to add a comment. When you click the icon a comment box pos out. After adding the comment click Comment button.
Create Clip
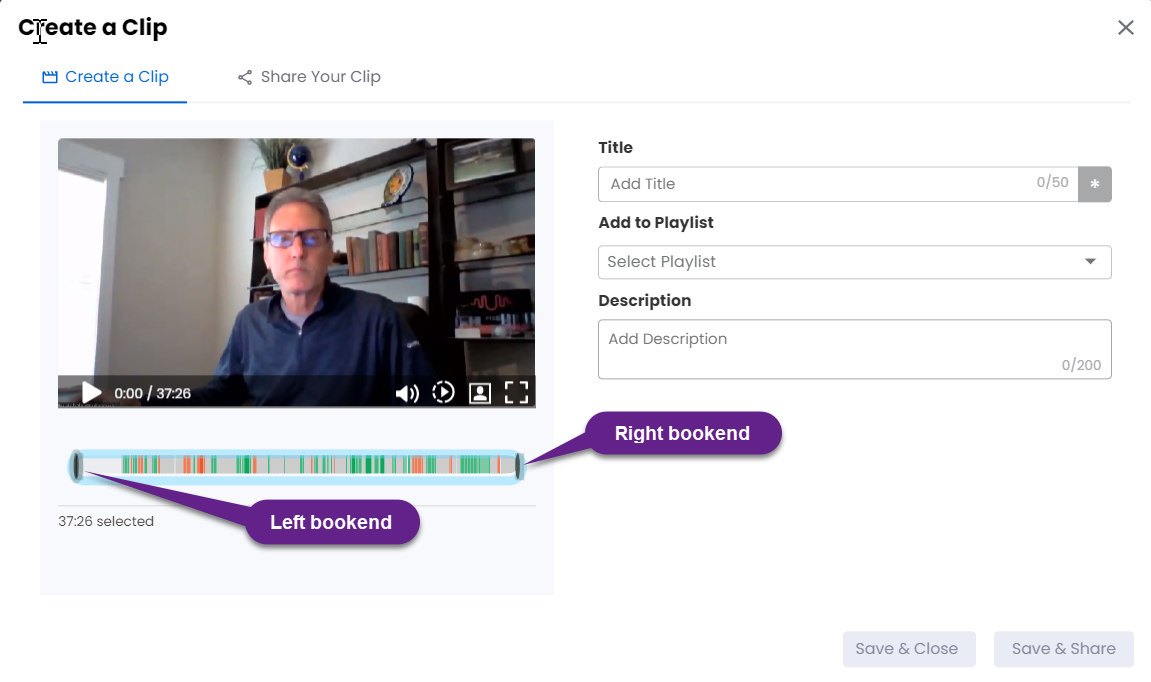
Click to create a video clip. A maximum of fifty clips can be created. The create a clip pops out. Adjust the length of your clip by moving the left bookend and right bookend on the playing track to define the beginning and endpoint of the clip. Enter the title of the clip. Add to a playlist of your choice by selecting the playlist from the drop down. Enter the description. A maximum of two hundred characters can be entered to describe the clip. Click Save & Share or Save & Close per your requirement. If you select Save & Close the clip is saved, and the pop out closes. If you select Save & Share the clip is saved and the Share Your Clip window pops out.
If you select Save & Close the clip is saved, and the pop out closes. If you select Save & Share the clip is saved and the Share Your Clip window pos out. Click on Add Recipients dialogue box to view the list of recipients. Select the recipient(s) of your choice. Add a message if required. When you click on share, the options Email and Slack are shown. Select the option of your choice. Click on Share button. The clip is now shared with your selected recipients. Also, a message "Clip has been shared successfully "pops out at the top upper right corner 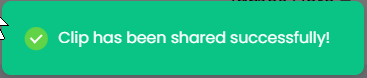 .
.
You can select the Back button to go back to the Create a Clip window.
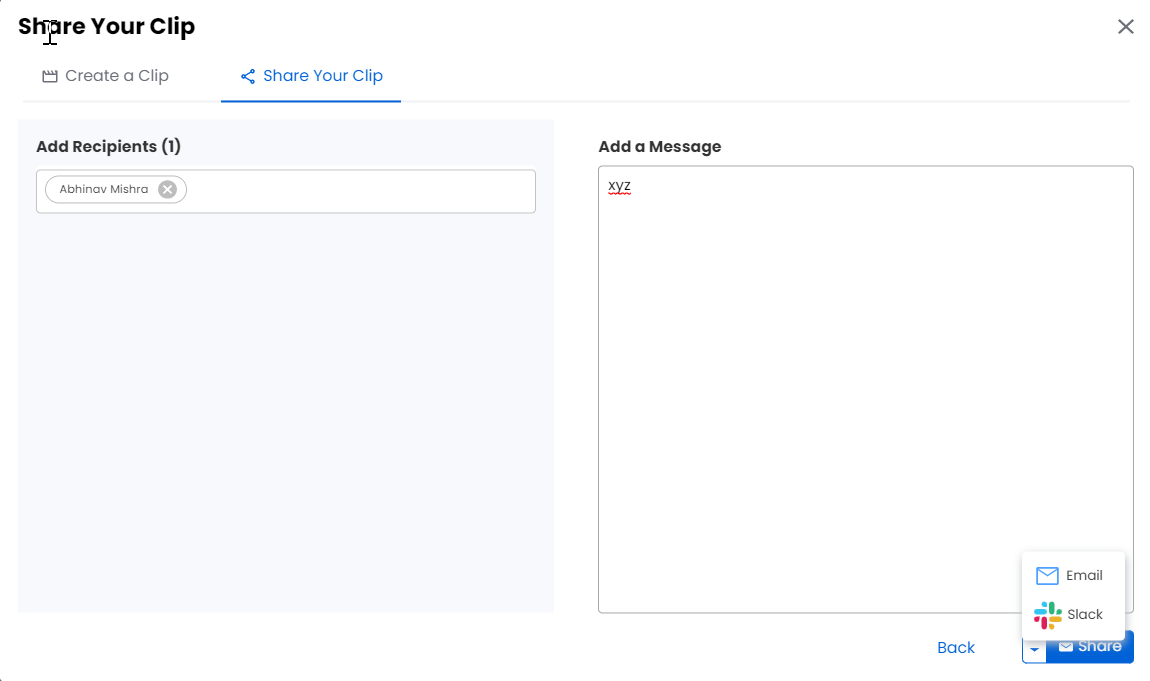
The clips created can be viewed in the clips tab of the Feedback tab.
Share Meeting
Share the whole meeting recording with recipients within or outside of your organization. Currently, outside organization option is disabled. By default, Inside Organization is selected. Enter the name or email of the recipient or select from the available list of recipients. Add the description of the meeting being shared. Set the expiration date for non-Q users. Click the copy icon in the Share Link dialogue box to copy the meeting link with a single click.
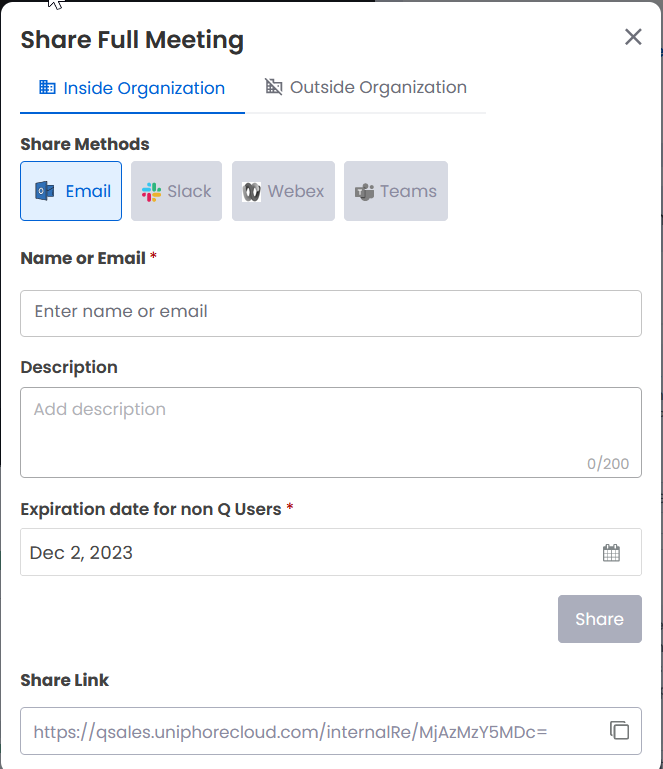
If you select Outside Organization a new window pops out.
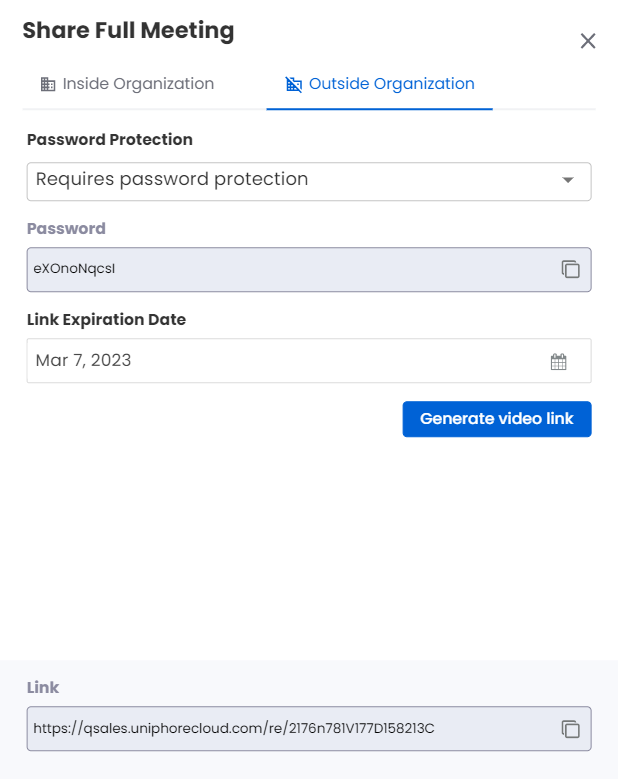
In the Select Password Protection dialog box you can select Requires password protection or Free access. If you select Requires password protection the password is auto generated which can be conveniently copied by clicking the copy icon ( ). Set the link expiration date in the Link Expiration Date dialog box. Click on Generate video link to generate the video link to be shared. Click on the copy icon (
 ) to copy the generated video link. Use this copied link to share the meeting recording with recipients outside of your organization.
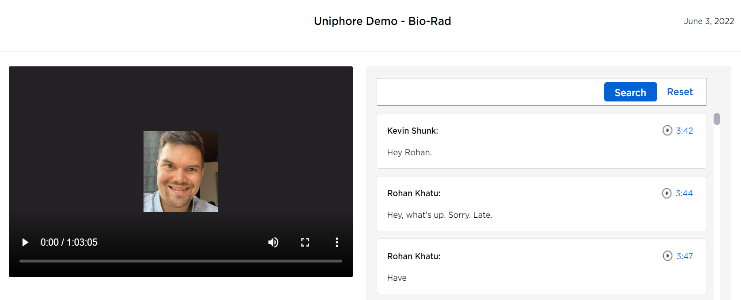
A sample of the video shared is displayed below.
Create Meeting Note
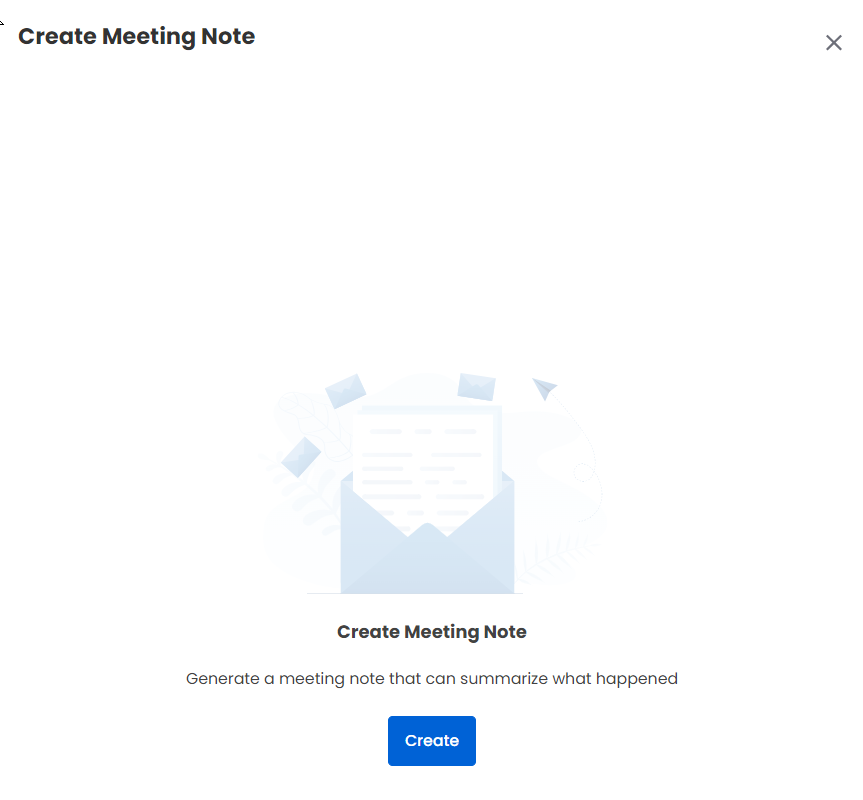
Click the Create Meeting Note: icon to generate a summary of what happened in the meeting. When the icon is clicked the below slide out is displayed.
Click the Review Content button at the bottom. The Create Meeting Note slide out is displayed.
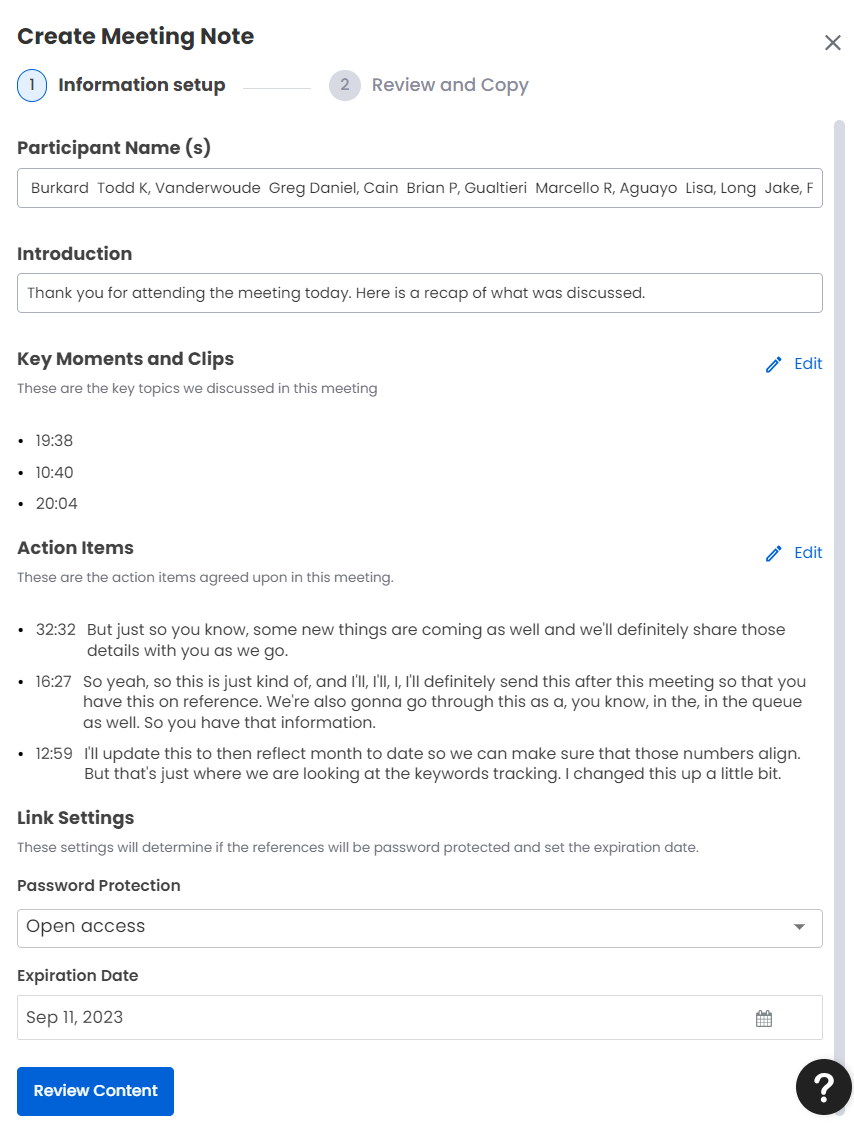
You first need to set up the meeting note information under Information setup and then review the content before you copy it to send to the desired recipients under the Review and Copy workflow.
The Information setup workflow consists of below details:
Participant Name (s): Lists the names of all the participants who had attended the meeting. Click inside the dialogue box to edit.
Introduction: The dialogue box is prepopulated with the message "Thank you for attending the meeting today. Here is a recap of what was discussed" by default. Click inside the dialogue box to edit and rewrite the introduction as you desire.
Include Meeting Summary Checkbox: A text summarization of the entire meeting. By default, the checkbox is selected. You may unselect it if you don't wish to include the meeting summary in the meeting note.
Key Moments and Clips: The key topics discussed in the meeting are available under two tabs Clips and Key Moments. Click the Edit icon to view the Edit Key Moments and Clips slide out. By default, the Clips tab is selected.
Clips
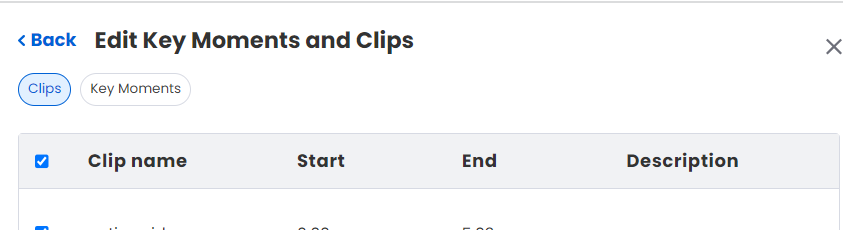
Click the checkbox(s) of the clip(s) that you want to include in the meeting note.
Click Save to save the selection or click Cancel to go back to Information setup.
Key Moments
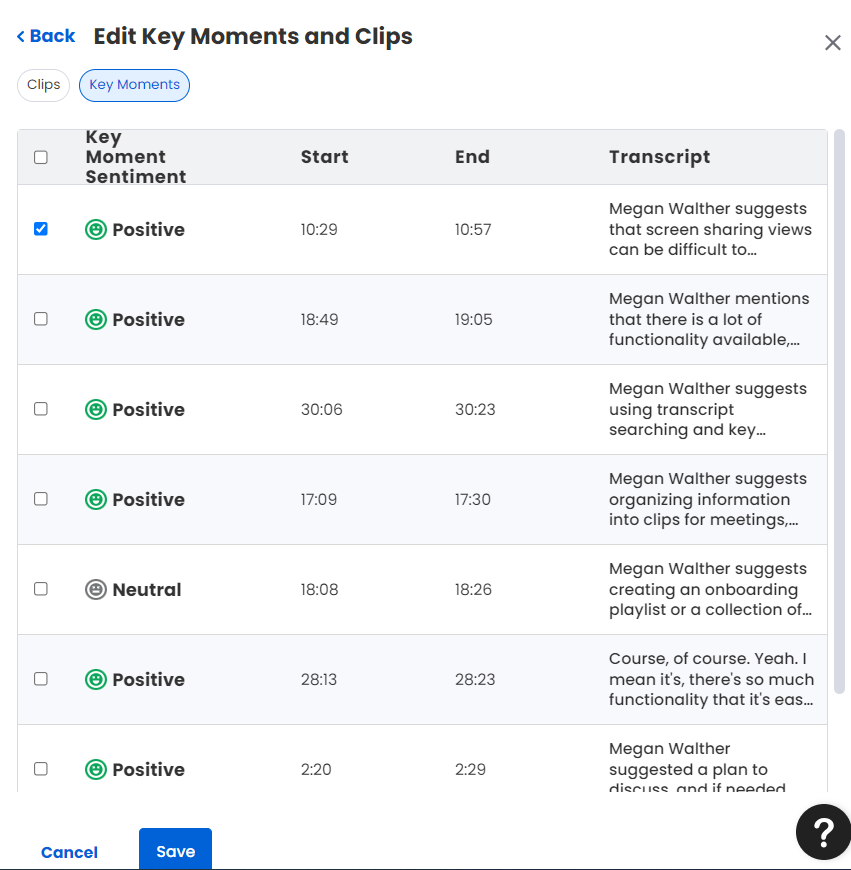
Click the checkbox(s) of the key moment(s) that you want to include in the meeting note.
Click Save to save the selection or click Cancel to go back to Information setup.
Action Items: The action items that were agreed upon in the meeting are listed here. Click the Edit icon to view the Edit Action Items slide out.
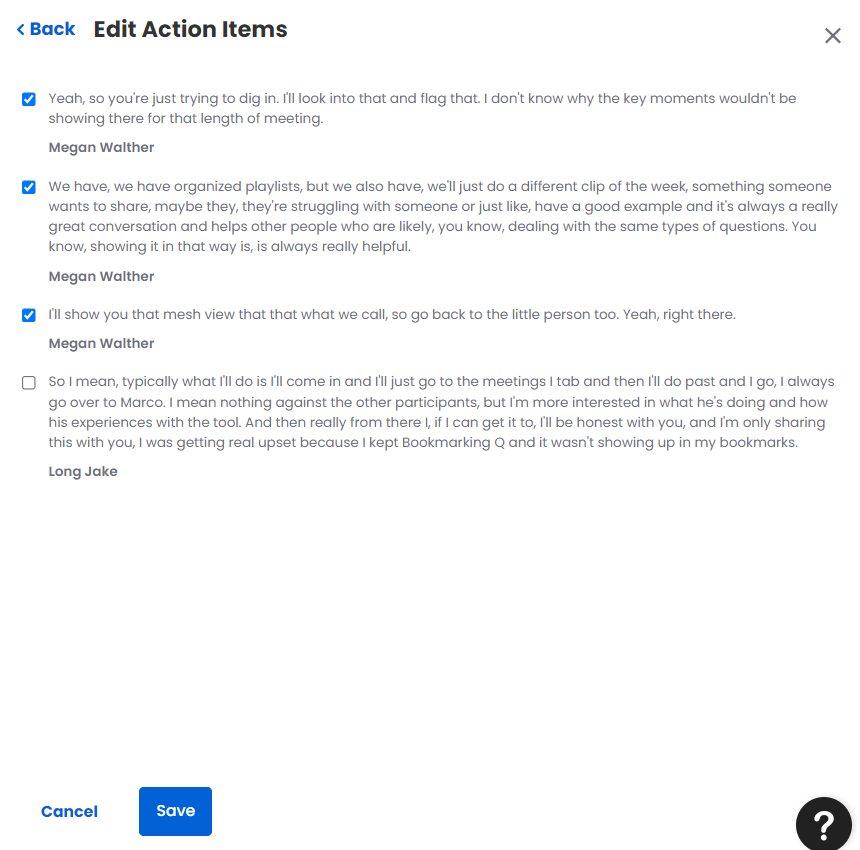
Click the checkbox(s) of the action item(s) that you want to include in the meeting note.
Click Save to save the selection or click Cancel to go back to Information setup.
Link Settings: Here you can configure the Password Protection and Expiration Date
Password Protection: From the dropdown box you can select either Requires password protection or Open access. If requires password protection is selected, then the recipients need to enter the system generated password to access the meeting note link.
Expiration Date: Click on the dialogue box to view the calendar and select the desired date for the expiration of meeting note link.
After you finish the information setup you need to click on Review Content button. Upon click a success message and the Review and Copy workflow is displayed.

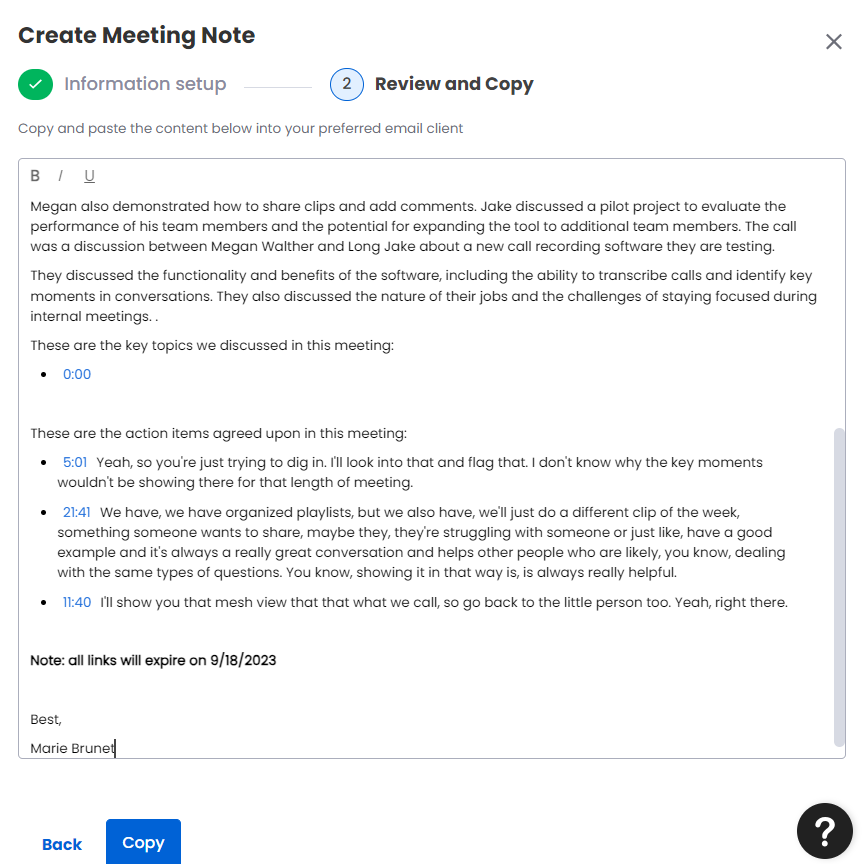
Here you can review and edit the content that has been generated. Finally, after the content is reviewed/edited you can click the Copy button to copy the content. Upon click a success message is displayed. You can now paste this copied template in your email. The copied template contains links to the meeting, key topics and action items that allows users to navigate directly to these sections.