My Settings - General
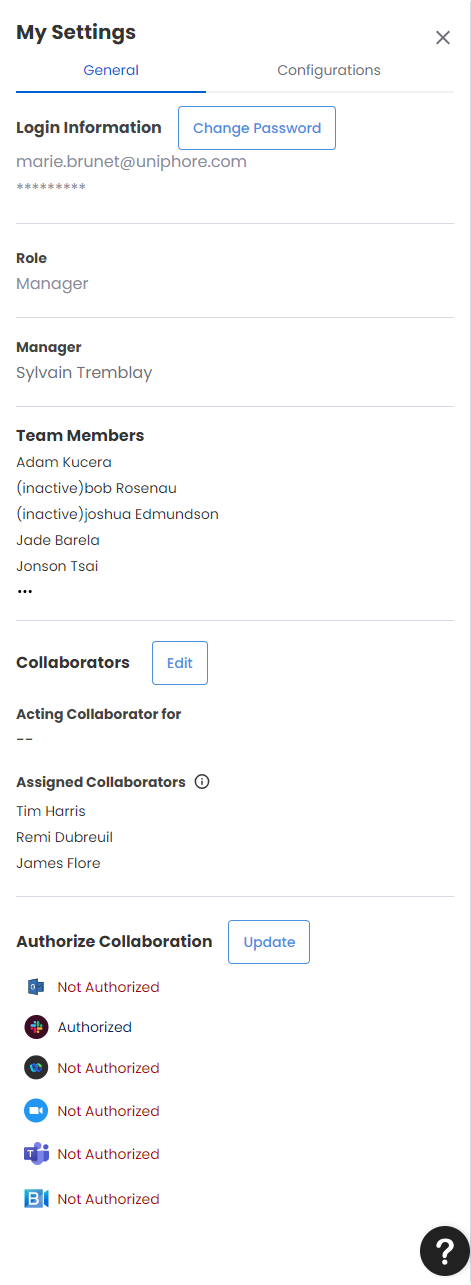
My settings consist of two tabs:
General: This tab is selected by default
Configurations
General
The general tab displays the below information:
Login Information:
The email id of the agent/user is displayed here.
Role:
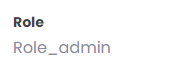
The user role is displayed. The various user roles are as follows:
Sales Q users:
This role has access to all the features including CRM deal/affiliation information except sections meant for system admins.
Internal non-sales Q users:
They have full access to meeting records but cannot host meetings. They can share and clip the meeting recordings and insert comments. They can create and consume playlists for coaching or onboarding purposes. They have access to the same tabs as a seller.
Internal non-Q user employees:
They have view-only access to meeting records and cannot comment or collaborate.
External parties (Customers, and partners):
External users have limited access to Q and only by way of a link to a meeting shared by a Q user. This link will provide access to a page where they can view only the meeting video and transcript. The link will expire at a time chosen by the Q user.
Manager: The manager's name of the logged in Q user.
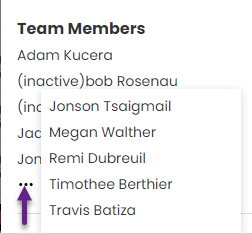
Team Members: Lists the names of other team members of the logged in Q user. Hover over the horizontal ellipsis icon to view the complete list of team members.
Collaborators:
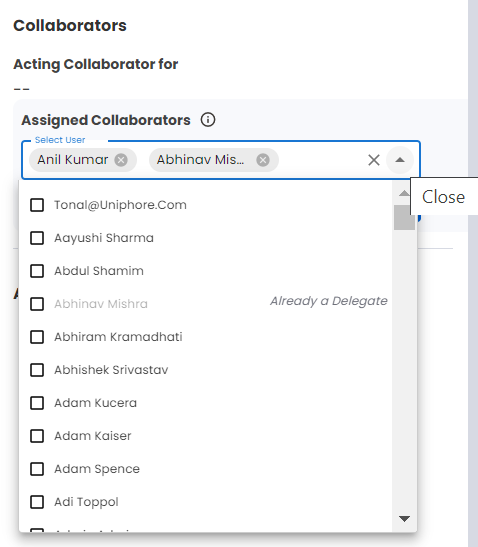
Acting Collaborator for:
The name of the user to whom you are acting as a collaborator is displayed here. When any user adds you as a collaborator that users name is displayed here.
Assigned Collaborators:
The name of the users whom you have added as your collaborators is displayed here. The assigned collaborators can view all the meetings conducted by the assignee. However, the assignee cannot view the meetings conducted by the assigned collaborators. In effect a user (assigned collaborator) needs to be assigned as a collaborator in order to view the meetings conducted by other users (assignee).
When the Edit button next to Collaborators is clicked the select user dropdown shows up. Click on the downward Open icon to view the list of users as a drop down. Select the checkbox next to a user you want to add as your collaborator. Alternately, you can key in the name of the user you want to add as your collaborator. The keyed in user alone shows up in the dropdown. Select the checkbox next to the user to add this user as your collaborator. Click outside the dropdown box and click Save to add the collaborators or click Cancel to cancel the Collaborator selections.
Click the cancel icon next to the user to remove this user as your collaborator. Click the Clear icon next to the dropdown arrow to clear/remove all the selected users as your collaborators.
Authorize Collaboration:
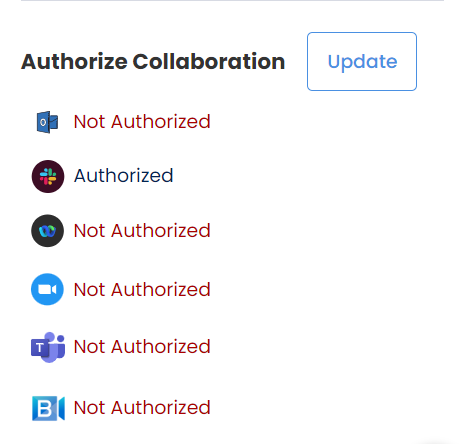
All the collaboration tools are listed here. The required collaboration tool needs to be authorized by the user.
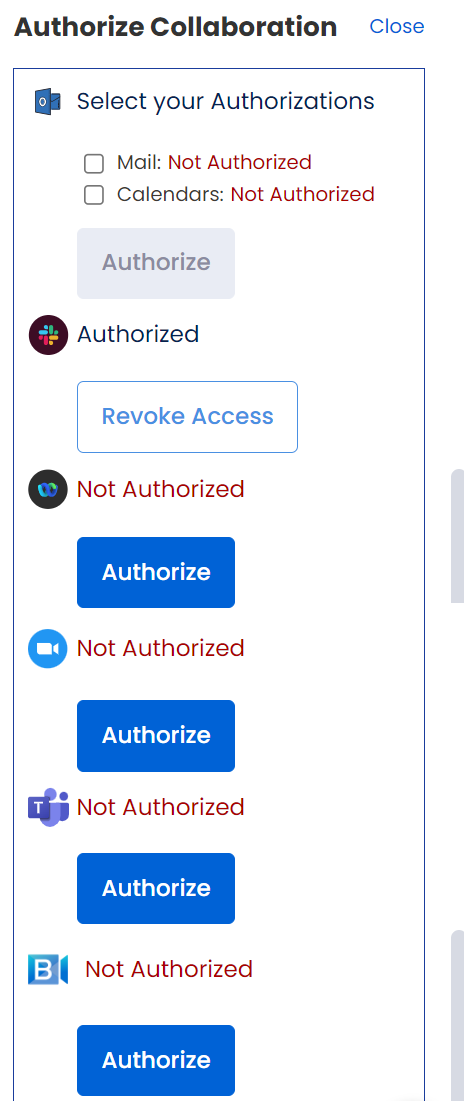
To authorize or revoke access to a collaboration tool follow the steps given below:
Click the update button.
Click the Authorize button shown below the collaboration tool(s) that is/are not authorized.
Click the Revoke Access button shown below the collaboration tool(s) that has/have been authorized.
For the Outlook collaboration tool Mail and Calendars check boxes are available. You can select the required check box(s) to authorize. After the required check box(s) is/are selected click the Authorize button.
Configurations
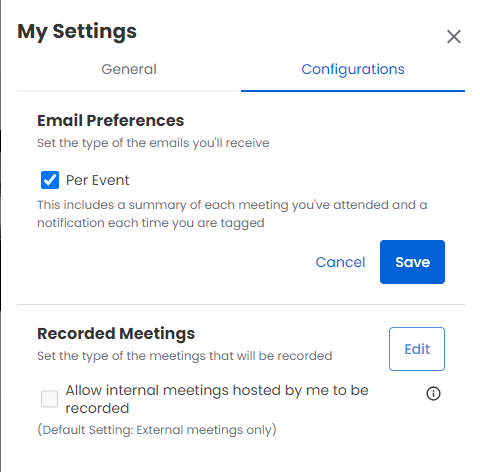
Here you can set the below configurations:
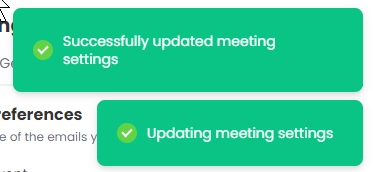
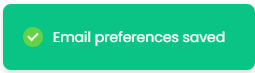
Email Preferences: Here you can set whether to receive emails or not for each meeting you have attended. You need to click the Edit button to make the Per Event check box active. After you check/uncheck the check box click Save to save the setting or click Cancel to cancel the setting. A success message is shown after you click Save
Recorded Meetings: