View and Update Schedules
Once you have Schedules configured, you may want to review, update, or remove them. This topic covers how to view, update, and delete existing Schedules. For information on creating new Schedules, see Create Schedules.
View Schedules List
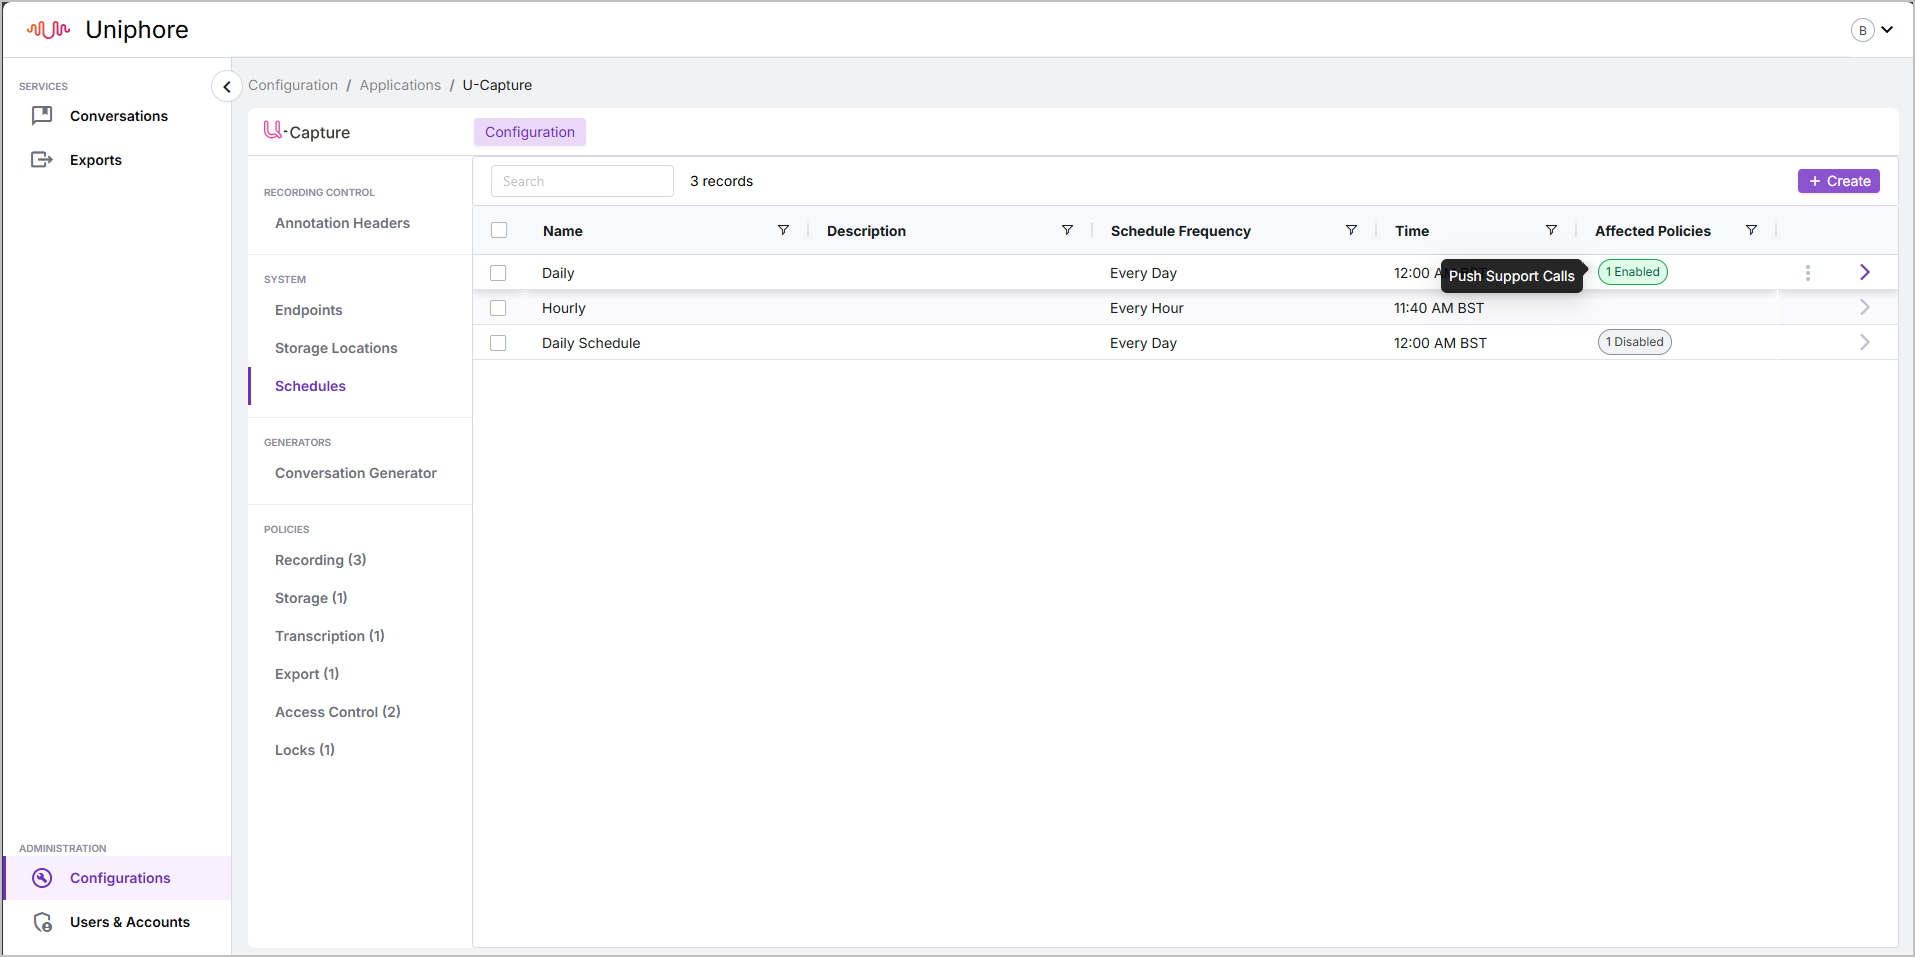
To view your list of Schedules, go to Configuration > Configure (under Communication Recording Agent) > Schedules. Here, get a quick overview of your Schedules, including Name, Description, Schedule Frequency, Time, and Affected Policies.
In the Affected Policies column, see how many active or disabled policies are affected by each Schedule. This is shown by Active and Disabled pills, each with a number indicating the quantity of active/disabled policies affected.
Tip
Hover over the Active/Disabled pills to quickly see which specific policies are affected by each Schedule. This displays the first five policies, followed by an indicator of how many additional policies are affected. To see all of the policies affected by the Schedule, click the > arrow to the right of the Schedule to open the Schedule details, then go to the Affected Policies tab.
View a Schedule
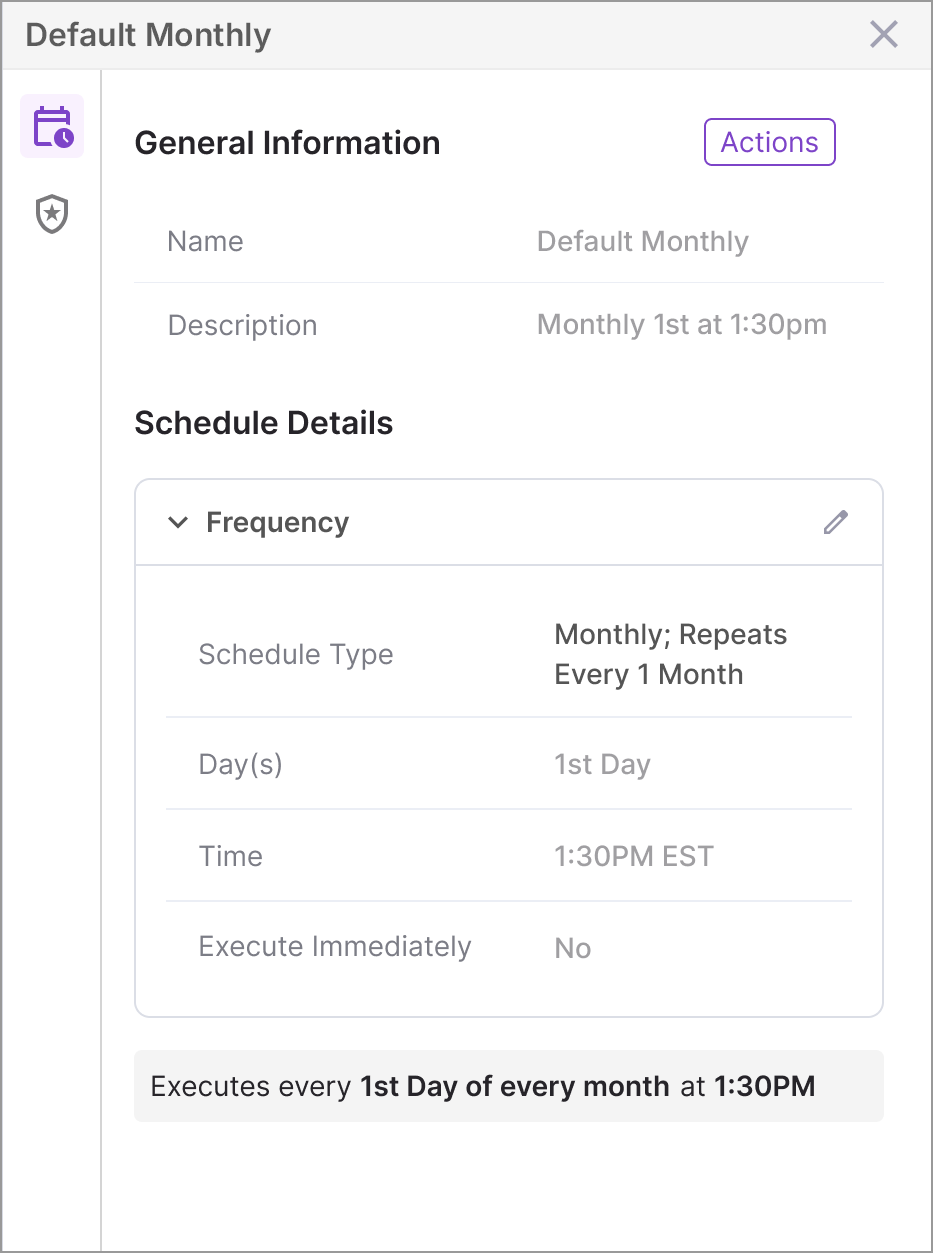
To view all of the details of a specific Schedule (above the basic information provided in the list and columns), go to Configuration > Configure (under Communication Recording Agent) > Configure > Schedules and click on the > arrow to the right of the Schedule that you would like to view.
From here, there are two tabs:
The first tab displays the General Information of the Schedule (Name and Description), as well as the Schedule Details, where you can see the Frequency of the Schedule (how often the affected policies are applied, and at what time). A summary of the schedule frequency is shown at the bottom of the Schedule Details.
The second tab displays the Affected Policies for the Schedule, including both active and disabled policies that would use this schedule to determine when to be applied (if they were active). The status of the policy is shown by the circle icon on the left of the policy (green for enabled/active and gray for disabled). The Name and Type of policy are also shown.
Update a Schedule
Provided that an Active Policy does not use a Schedule, the frequency of the Schedule can be updated.
To update the frequency of a schedule:
Go to Configuration > Configure (under Communication Recording Agent) > Schedules.
Click on the > arrow to the right of the Schedule to update.
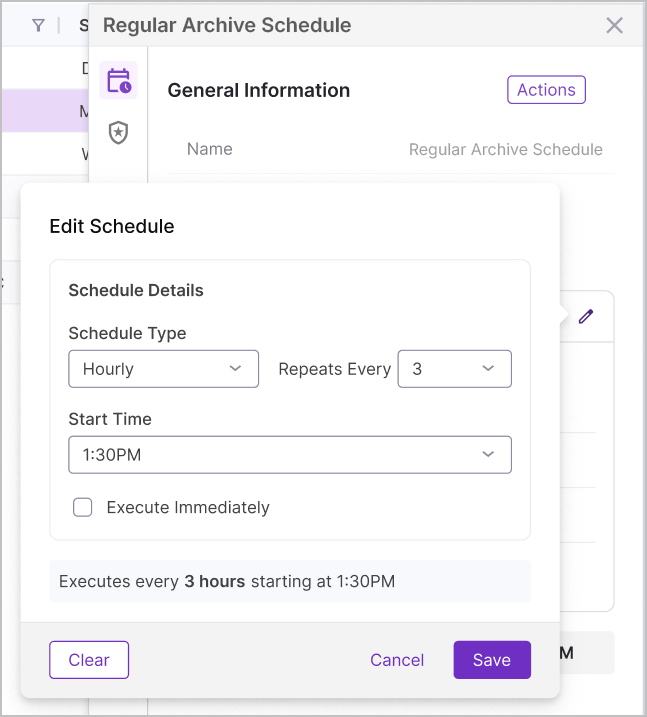
Under Schedule Details > Frequency, click the Edit Pencil.
Note
If a Schedule has Active policies affected by it, then the Edit Pencil is grayed out, and you are unable to edit its frequency.
Make changes to the Schedule Details as required.
Review the summary, and then click Save.
Delete Schedules
Caution
Deleting Schedules is a permanent action with no undo button. If you delete a Schedule but want to bring it back, a new Schedule needs to be set up. Schedules with affected policies can not be deleted to reduce risk.
To Remove a Schedule From Your System:
Go to Configuration > Configure (under Communication Recording Agent) > Schedules.
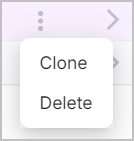
Either click on the Three Dots menu
 to the right of the Schedule that you want to remove, and click Delete, or select the Schedule that you want to delete using the tick box to the left of the Schedule, then click the trash bin icon in the top right.
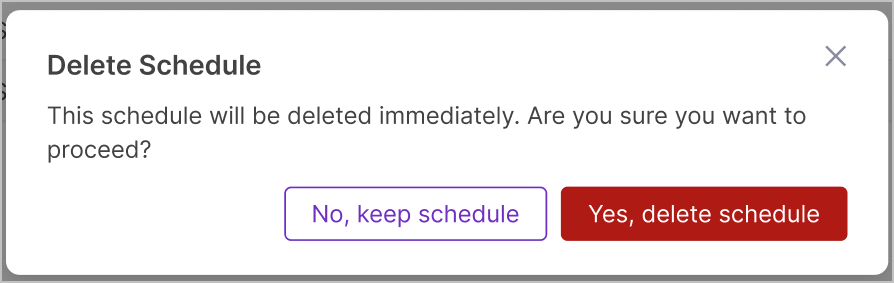
A message appears requesting confirmation to delete the Schedule. When you are sure that you want to delete the Schedule, click Yes, delete schedule.
To Remove Multiple Schedules From Your System:
Go to Configuration > Configure (under Communication Recording Agent ) > Schedules.
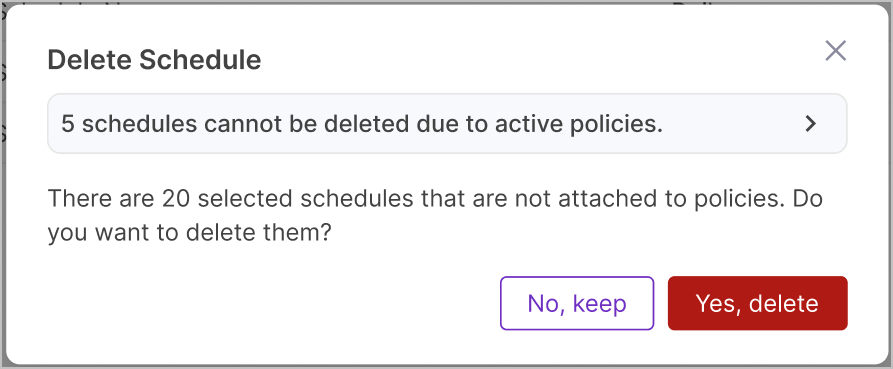
Select the Schedules that you want to delete using the tick boxes to the left of the Schedules, then click the trash bin icon in the top right.
A message appears requesting confirmation to delete the Schedules. The message indicated whether any of the selected Schedules can't be deleted (because they affect policies). Use the dropdown to see the Schedules that can't be deleted.
When you are sure that you want to delete the Schedules, click Yes, delete.