How to annotate a table / Nested entity
Human-in-the-loop
Click here to download a video
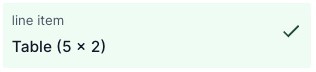
When in the annotation editor, to locate your table or list, look for the table icon in the front. The number reflects the number of rows in this table.
 |
A table popover will appear for annotation. This popover is resizable, and can be placed anywhere when dragging the header.
For annotating a cell
Select a cell from the table popover
Select the document text for this cell
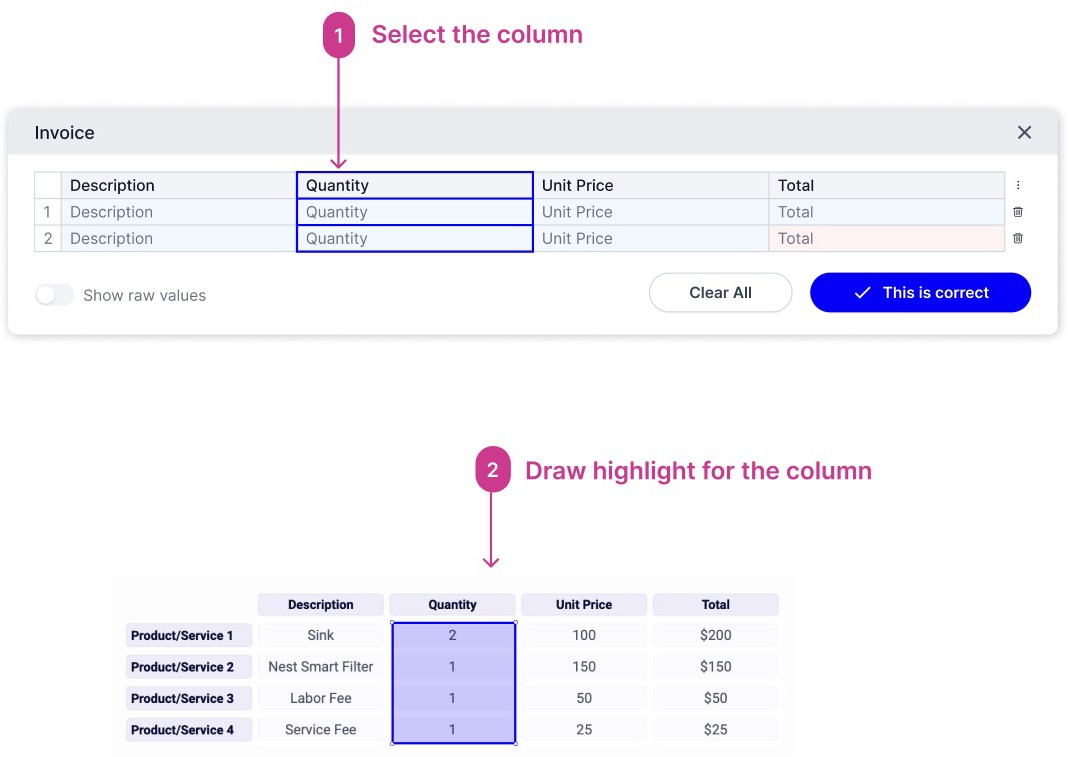
For annotating a column
Add rows if needed
When a user selects more rows than the table popover, Orby will confirm with the user before adding the additional rows from the selection (when there are at least 2 rows)
Select the column header
Click “Add location”
Draw the area that covers the content of the column
1. This assumes the nested entity child value covers a whole table cell. Once everything looks good on the table, click “This is correct” to confirm for all values
 |
Other features:
Add or delete a row
Arranging order of rows or columns Hide/Show columns
Clear all content for the field
Mark the whole table as correct after annotation
Navigating using keyboard
For tables, users can now navigate and take additional actions via the keyboard keys:
ctrll/cmd + Z: Undo ctrl/cmd + Y: Redo ctrl/cmd + C: Copy ctrll/cmd + V: Paste
Delete key: clear content in cell
→ ↑ ↓ ← : Use the arrow keys to move between table cells
Shift + click: select one cell while holding the Shift key, clicking another cell within a column will select all cells in between