Connect your CRM Service
Use this page to configure the integration with customer relationship management software. This step has to be done before proceeding with other configurations. This is the prerequisite of other configurations. At this moment, Q supports Salesforce, Salesloft, HubSpot and Microsoft Dynamics as CRM platforms.
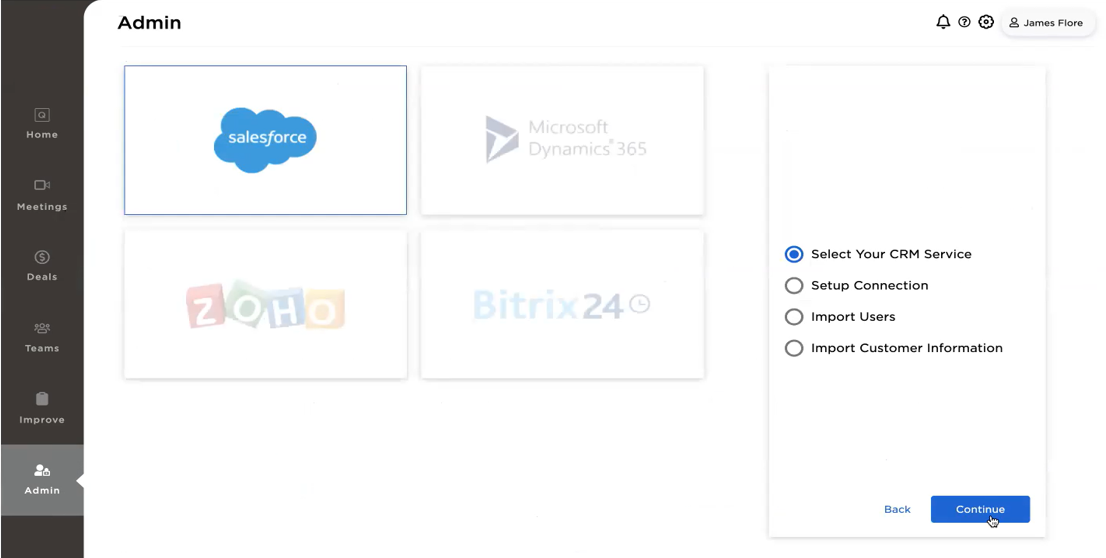
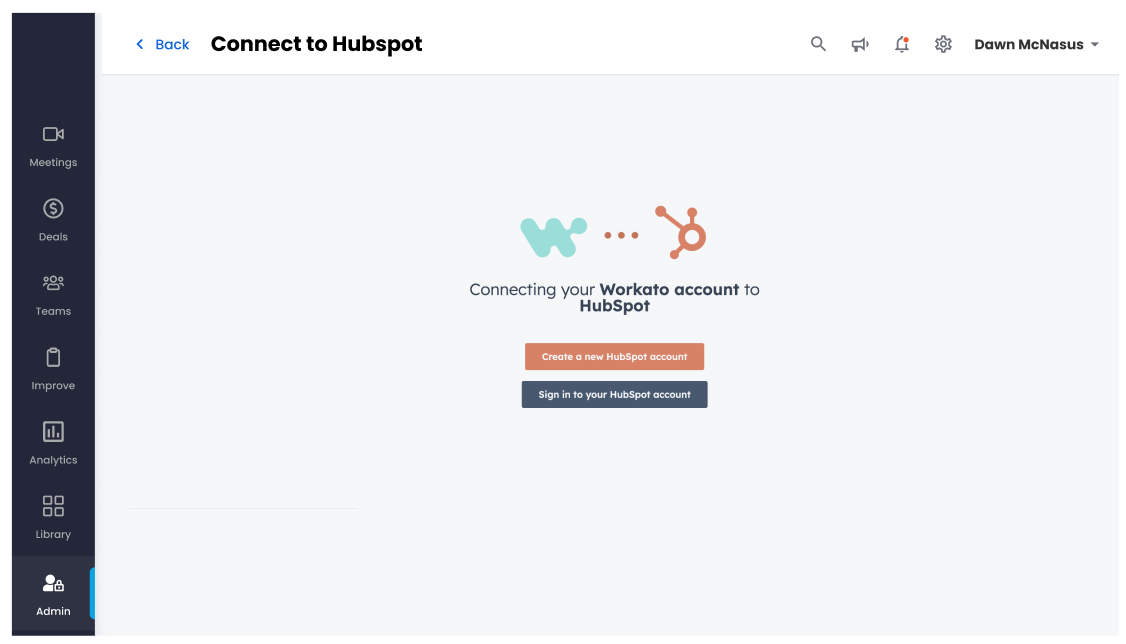
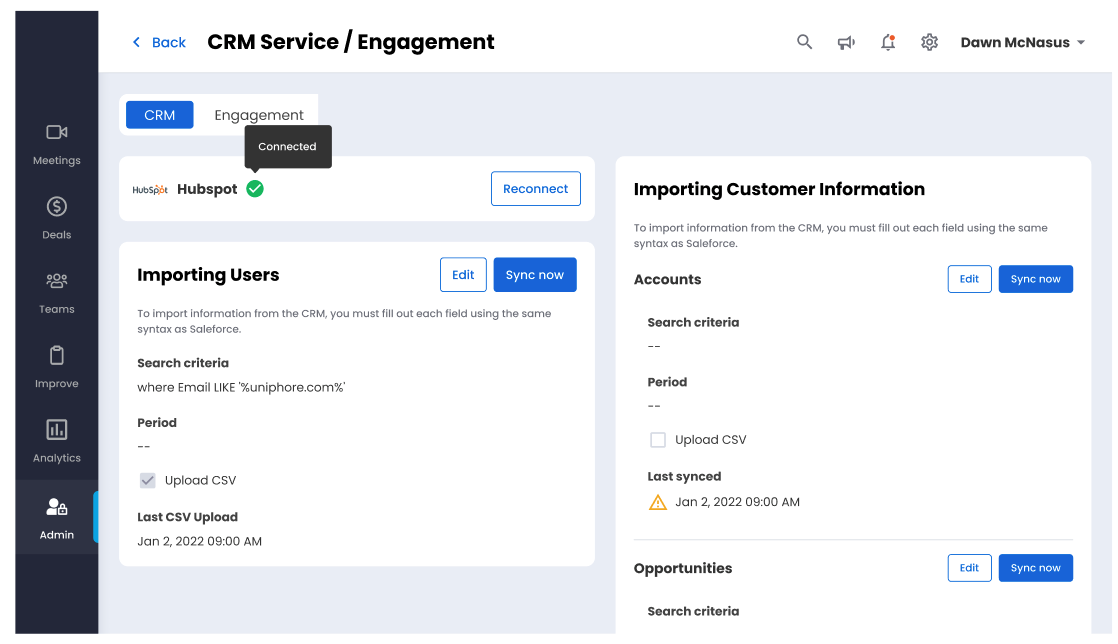
Set up and connect to your CRM (e.g., Salesforce). This establishes a data sync-up connection between the CRM and the tool. This step needs to be completed before defining the rest of this page.
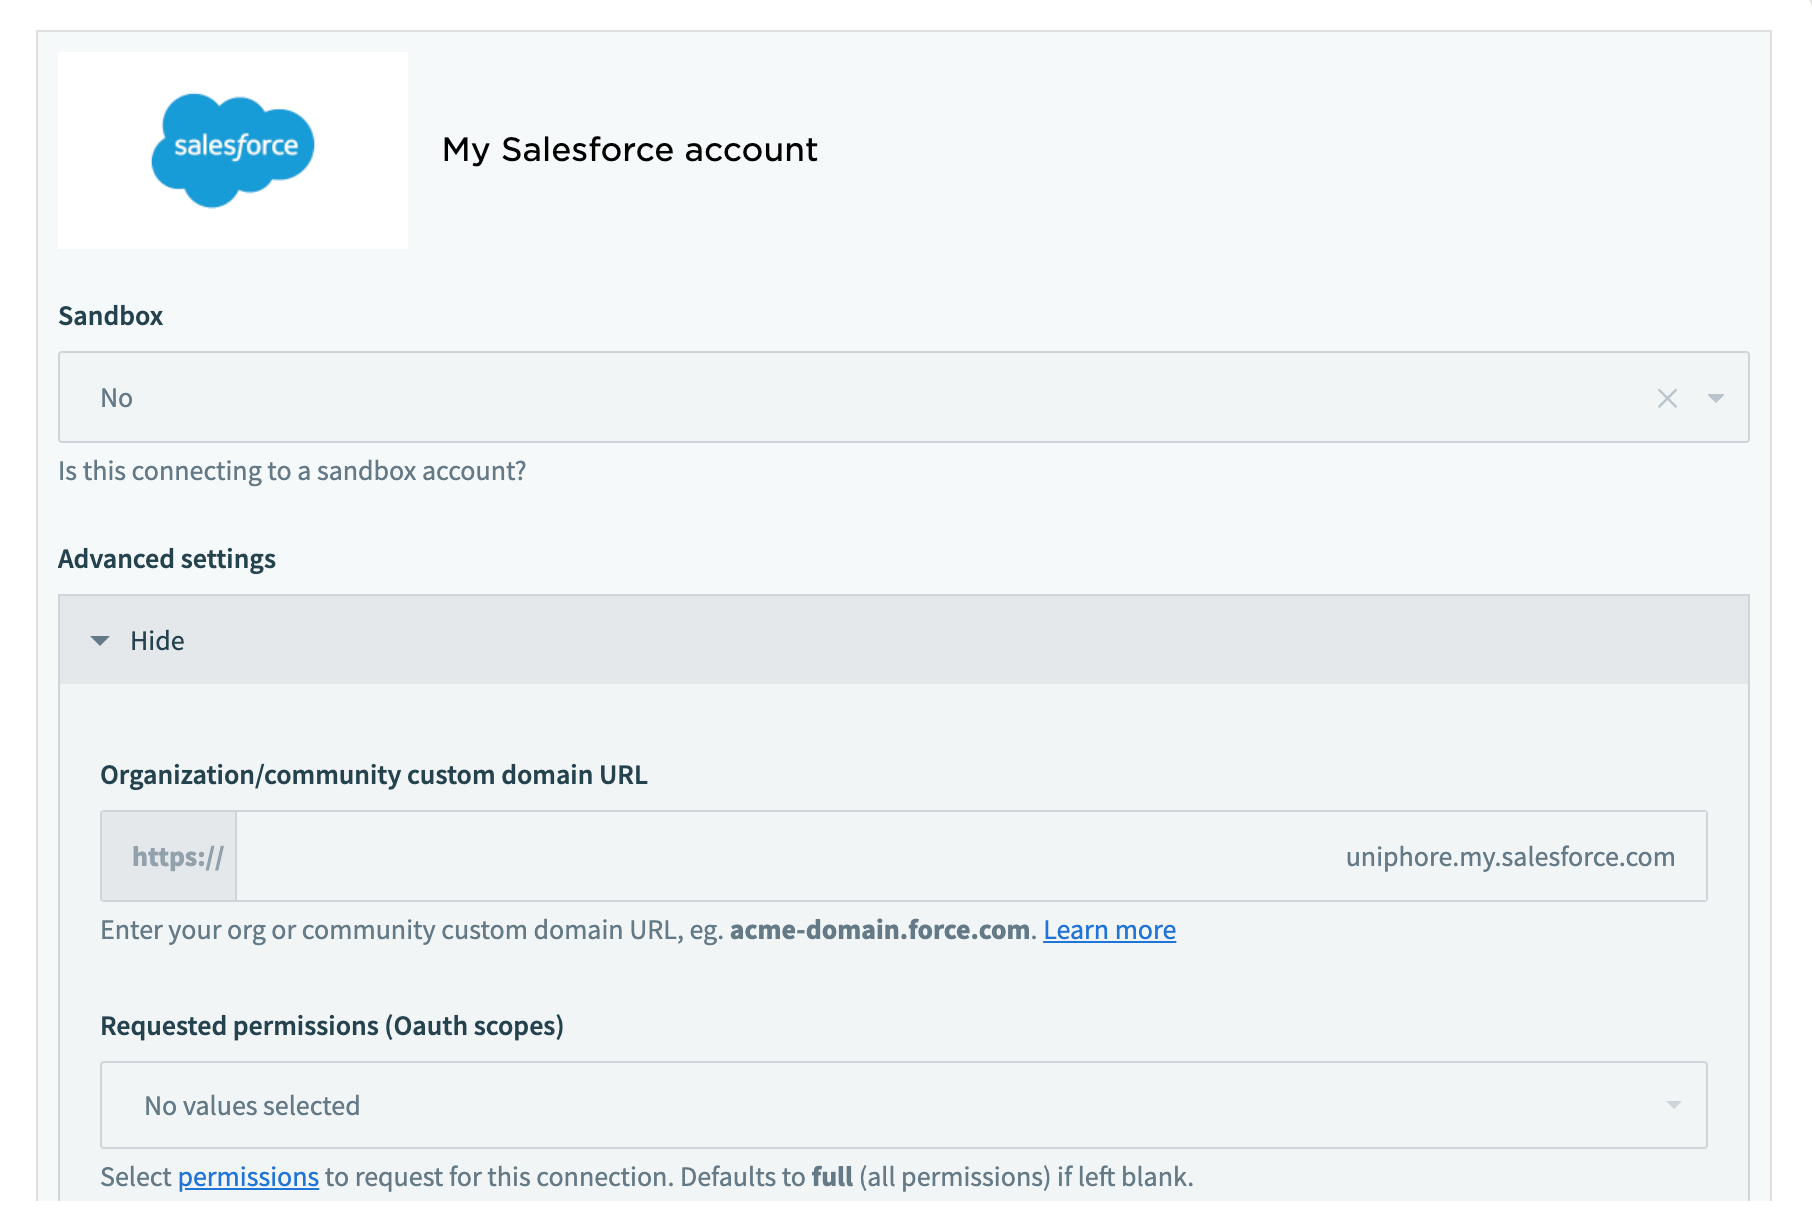
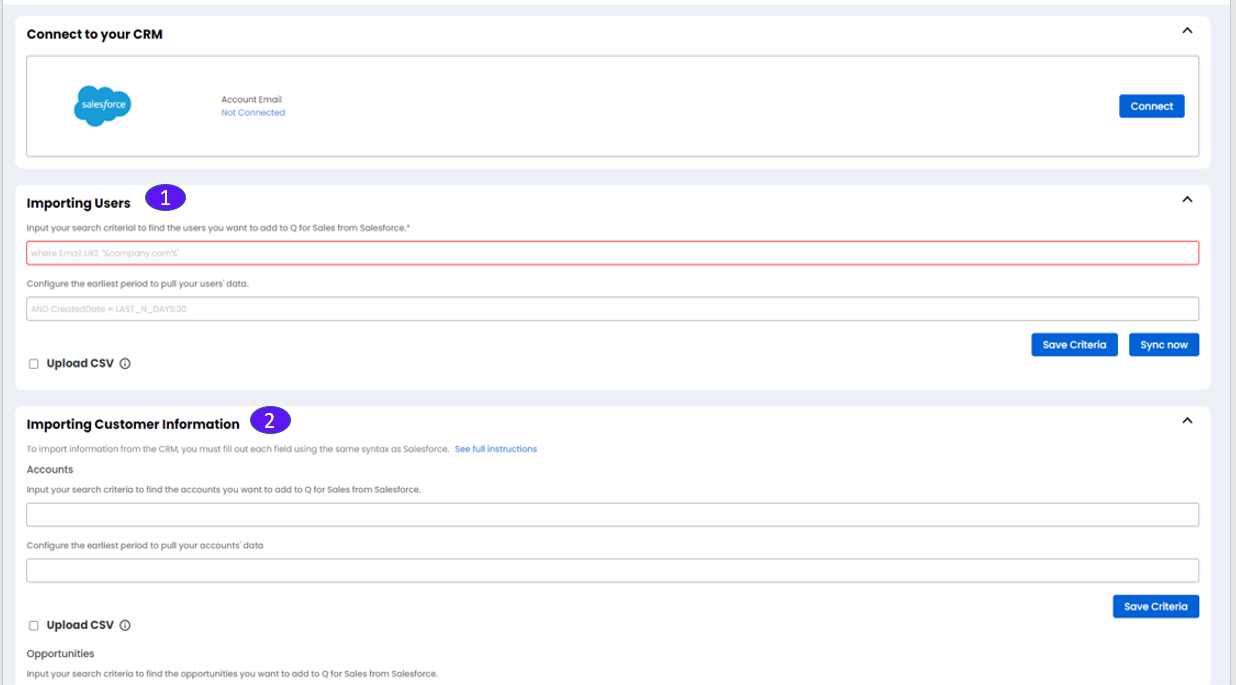
1. Importing Users
Use this to add users from Salesforce. Enter search criteria and earliest period for users’ data, then click Save Criteria. The App syncs the data within 4 hours. To sync the data immediately click the Sync now button. To import users in bulk, select the Upload CSV check box then select the CSV file from the Choose a file to upload dialogue box. Then click Upload. The CSV data must follow the format as follows:
External ID
Email
First Name
Last Name
Full Name
User Type
Username
2. Importing Customer Information
To import customer information from the CRM, fill out each of the fields using the same syntax as Salesforce for search criteria and earliest period for accounts’ data, then click Save Criteria.
External ID
Email
First Name
Last Name
Full Name
User Type
Username
Accounts
Opportunities
Contacts
To import users in bulk, select the Upload CSV check box then select the CSV file from the Choose a file to upload dialogue box. Then click Upload. The CSV data must follow the format as follows:
If you do not enter filters for the search criteria fields, you will import all the information for each category. Most administrators will want to do a phased rollout instead of a total import.
The sync-up automatically runs in the background every day. Use the earliest period for accounts’ data to define the sync-up data filtering criteria based on their last update time.
More information is available by clicking the instructions link.