Amazon Connect Configuration in Administration Platform
In the Administration Platform, click the Admin (
 ) icon from the left side Toolbar and select the Accounts tab to view current account details.
Double-click the desired Account or click the Right Arrow (
 ) on the right side of the relevant Account to view the specific Account Details page.
Click the Integration (
 ) icon from the left side Toolbar and click Edit Integration.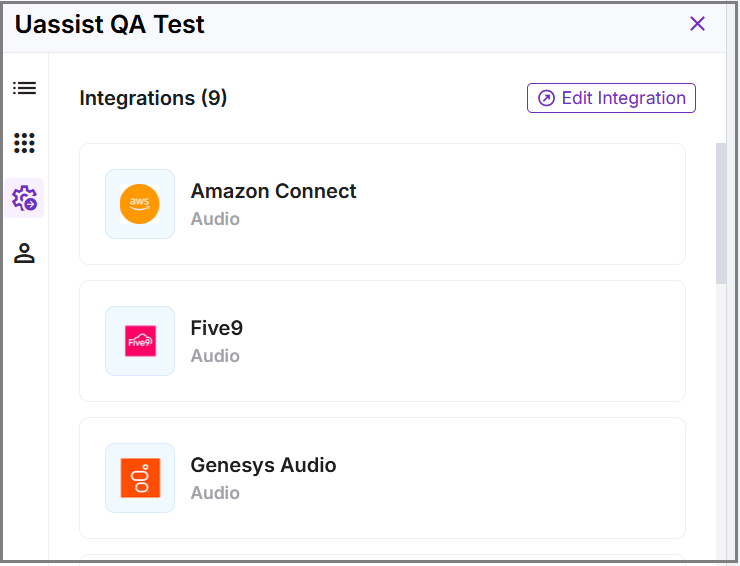
In the Integrations section, click Configure to add the Amazon Connect Settings.
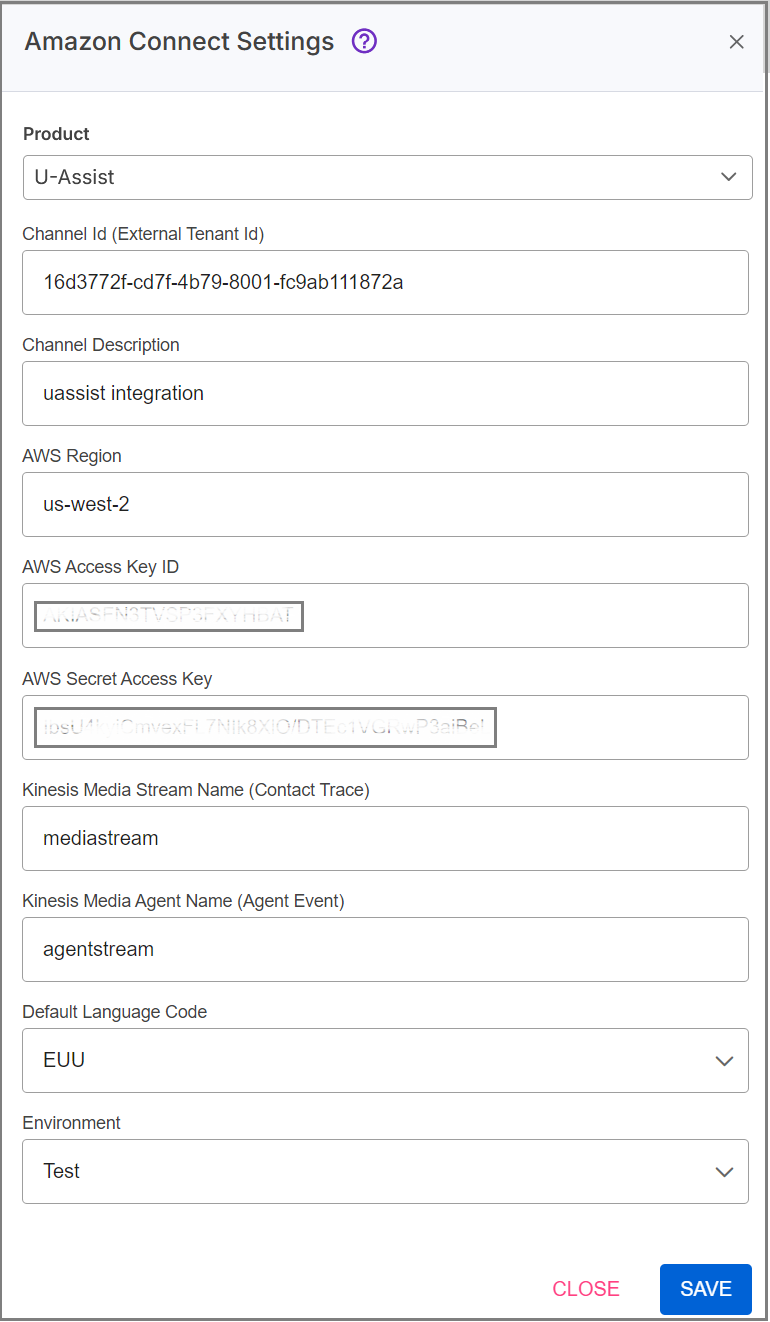
Select Real-Time Guidance Agent from the Product dropdown list.
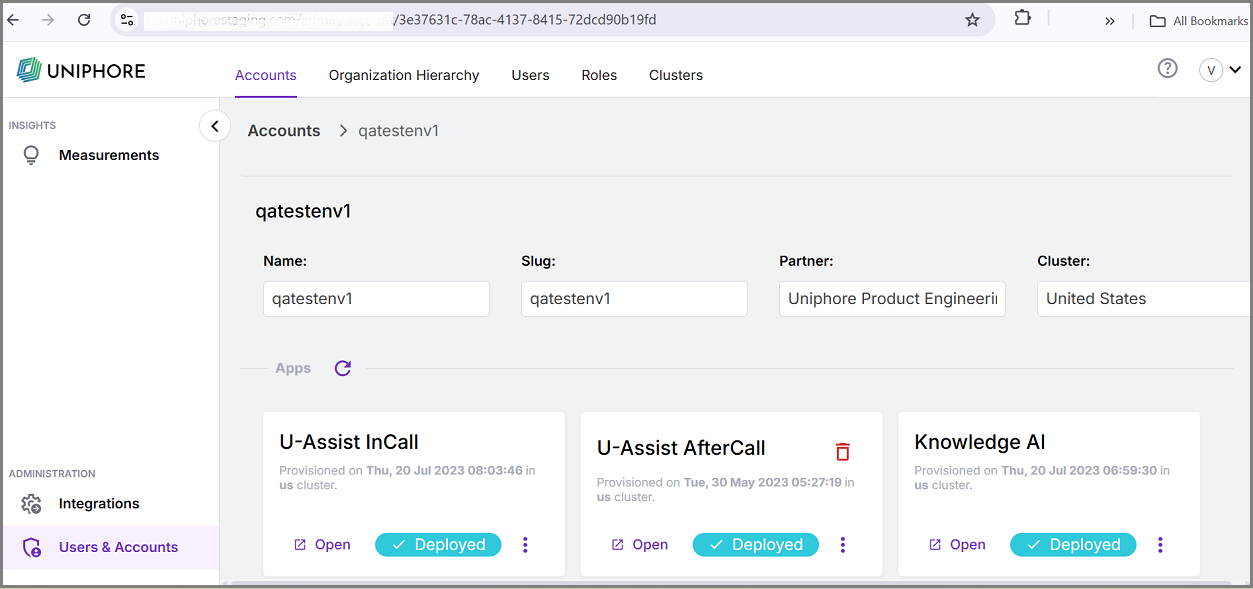
Mention the Channel ID of the specific tenant. This ID is automatically generated while creating the tenant and displayed in the selected tenant's URL.
Important
The Channel ID must be unique for each tenant. Each tenant's Channel ID is only used for a single Amazon Connect demo instance.
Mention the channel's description in the Channel Description field.
Mention the AWS Region. The AWS Region value is displayed next to the username on the Amazon Connect Console home page.
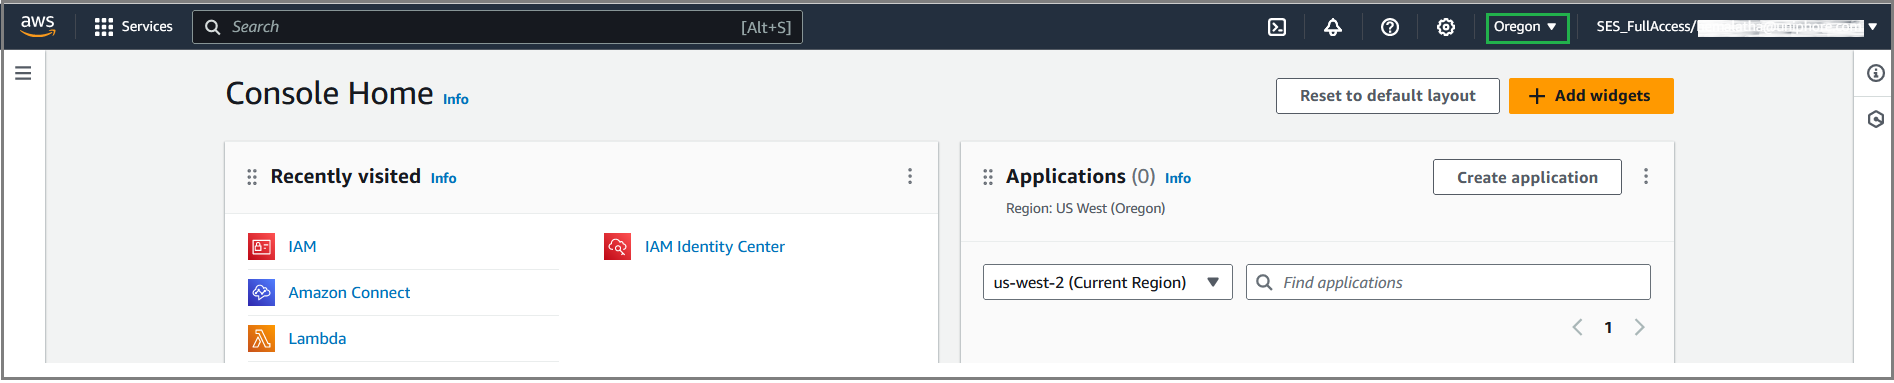
Mention the Access Key ID and Secret Access Key in the respective fields. To get these values, refer here.
Note
If you are having issues obtaining AWS access keys, please contact the Delivery or Platform teams.
Mention the media stream name created for contact trace records in the Kinesis Media Stream Name field.
Mention the media agent name created for agent events in the Kinesis Media Agent Name field.
Select the language code from the Default Language Code field.
Select any one of the operating environments (Dev, Test, or Prod) from the dropdown list.
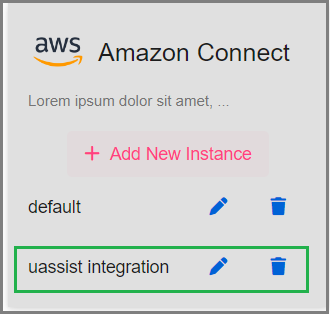
Click Save. The newly created Amazon Connect instance will be shown in the Amazon Connect tile.
To get AWS Access Key and Secret Access Key
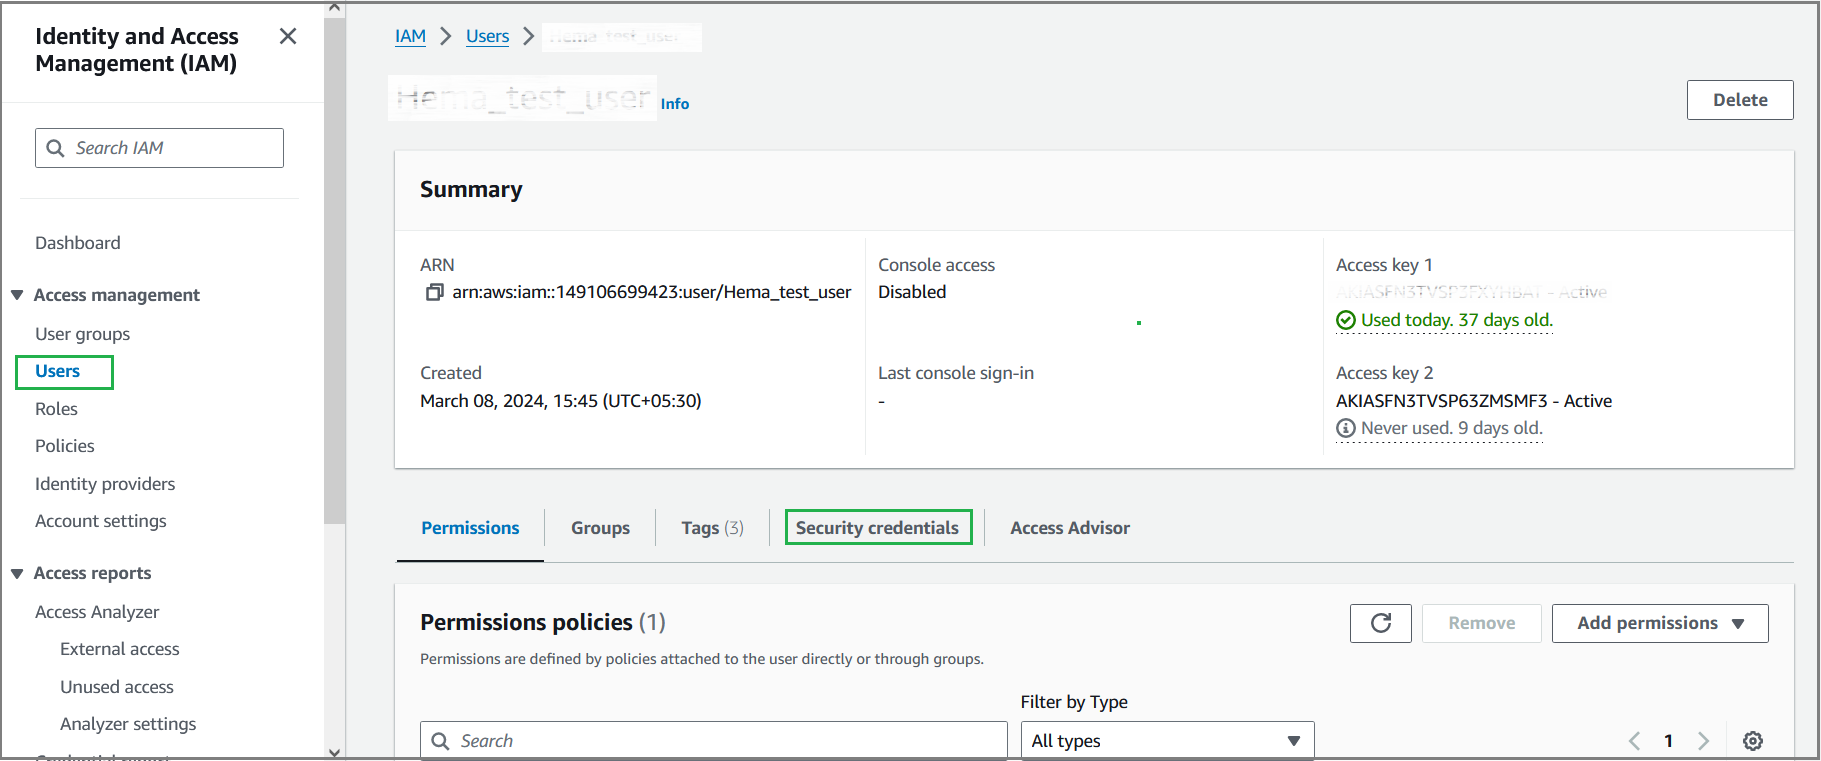
Sign in to the IAM Console with your AWS account ID, IAM user name, and password.
Select Users from the left pane. Choose your username, followed by Security credentials.
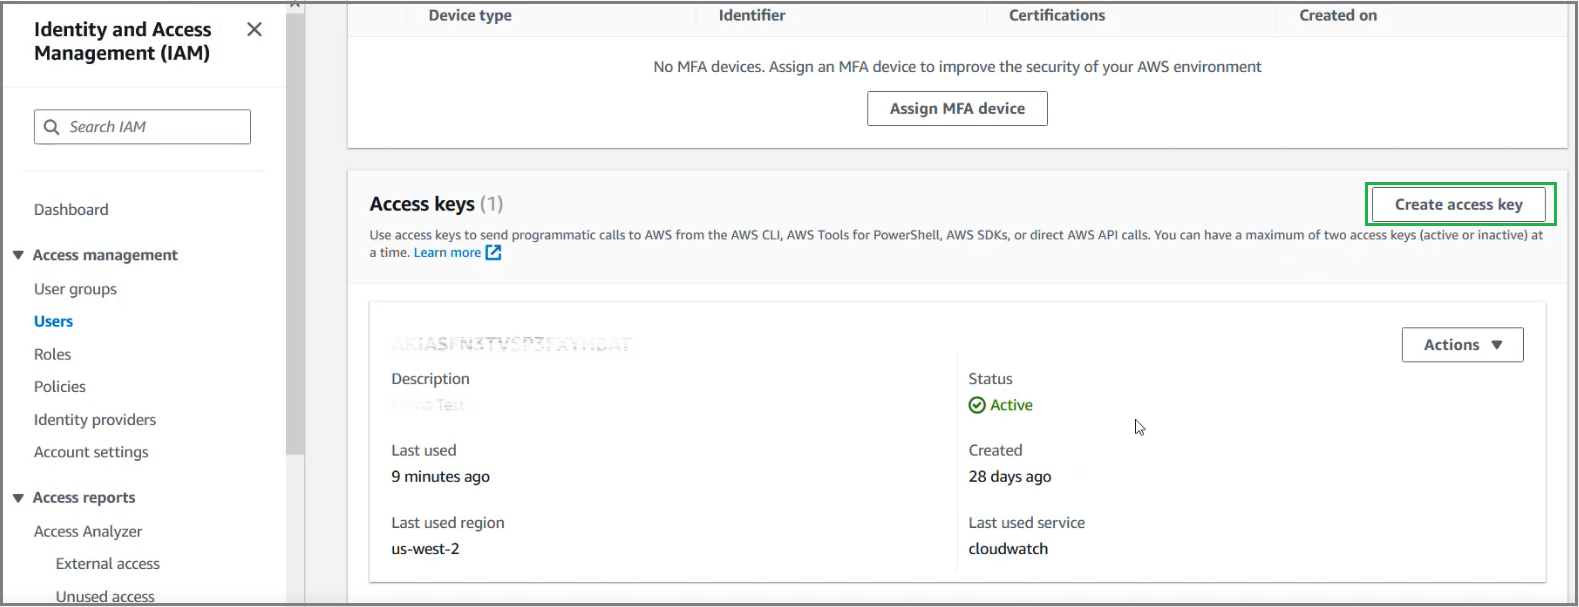
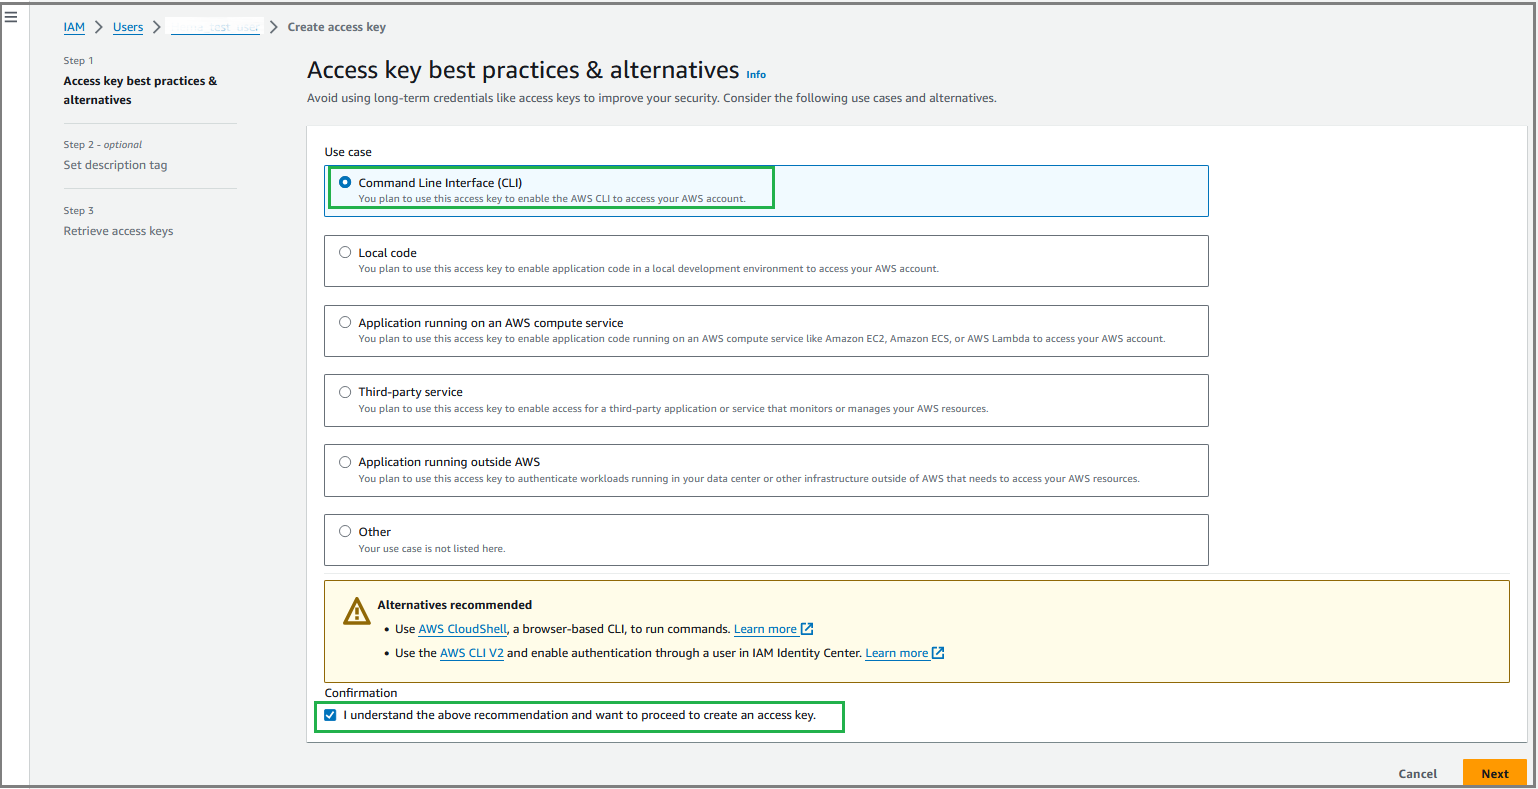
Click Create access key. Select the Command Line Interface (CLI) option and the Confirmation checkbox and then click Next.
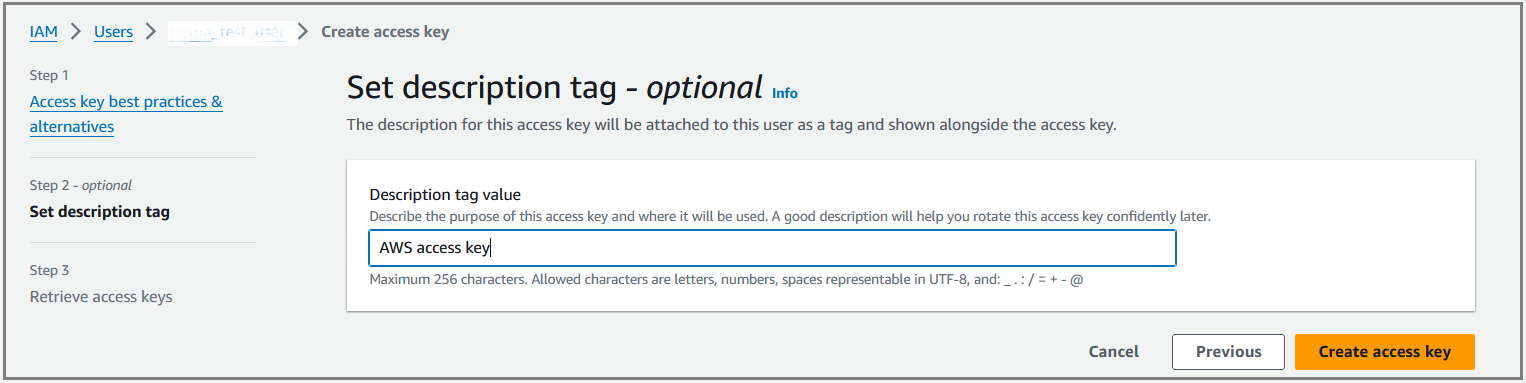
Mention the description of this access key and click Create access key.
Click Download .csv file to download the access key file (.csv file). You can get the Access key ID and Secret access key from the downloaded file.
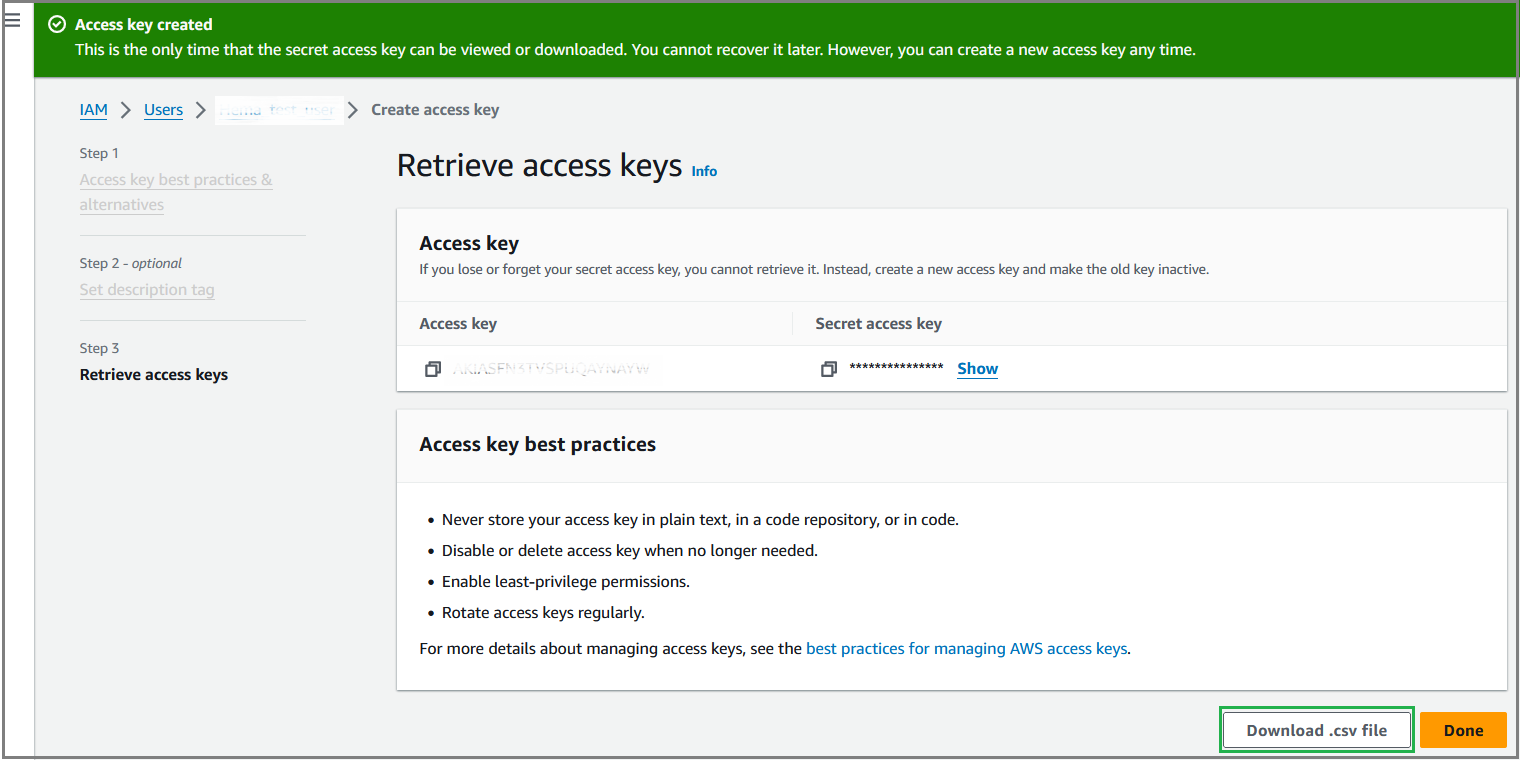
Click Done to exit from the Create access key page.
Map Live Agent with Real-Time Guidance Agent User
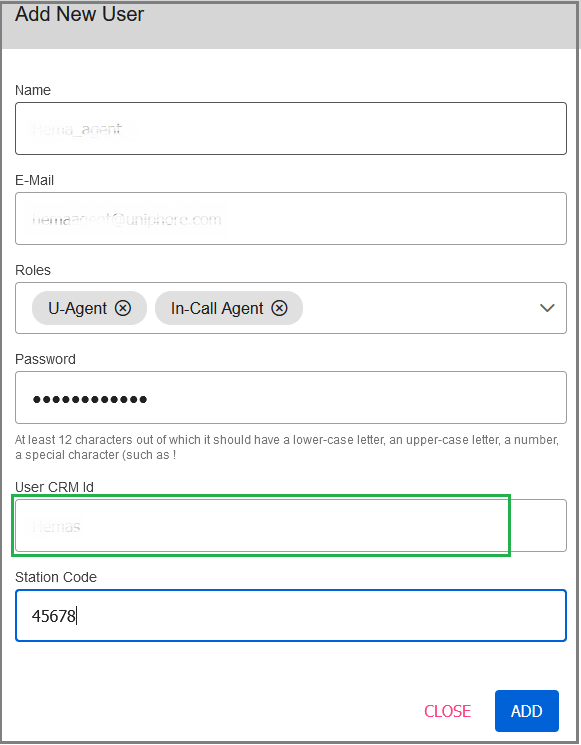
While creating an Agent user in the Administration Platform, the live Agent user name created in Amazon Connect should be configured in the User CRM ID field.