Account Administration in U-Self Serve
This overview outlines the steps for setting up a new account (tenant) on Administration Platform. It is intended for Uniphore and Partner delivery teams, as well as any teams that require demo environments. Setting up an Account for a customer is the first and foremost activity in the onboarding process. Users in a particular account can access only those applications added to their specific account.
Important
You will need Partner or Super Admin access to create and manage accounts on the Uniphore Admin Portal.
Raise a support ticket to obtain Partner Admin credentials.
Create an Account
Go to https://ng.uniphore.com and log in with Partner or Super Admin credentials.
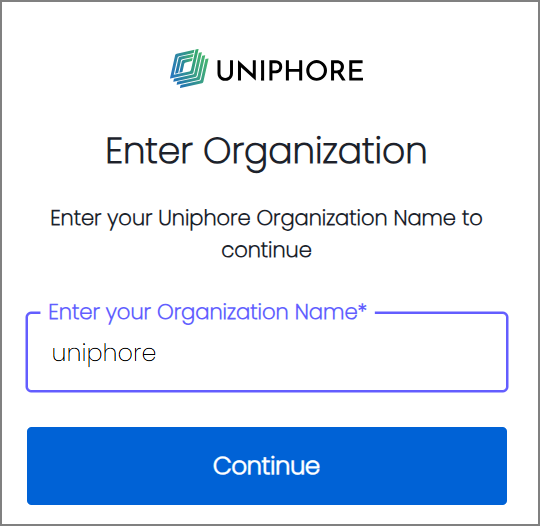
In Organization Name, enter uniphore for Uniphore customers or the Partner Admin's name.
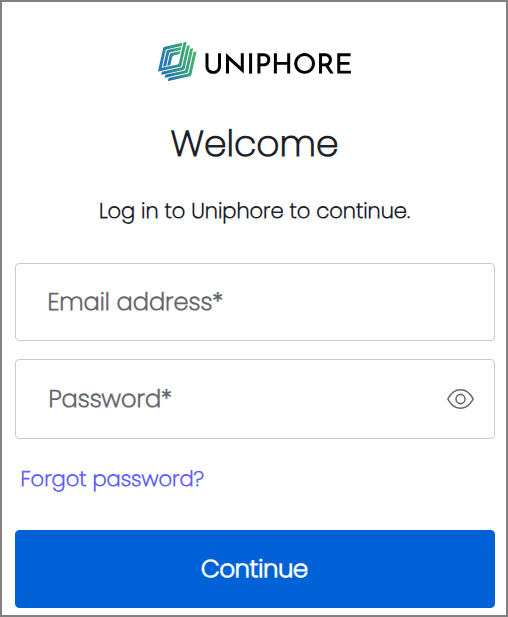
In Email address and Password, enter the Super Admin or Partner Admin's email ID. Select the I'm not a robot check box, and click Continue.
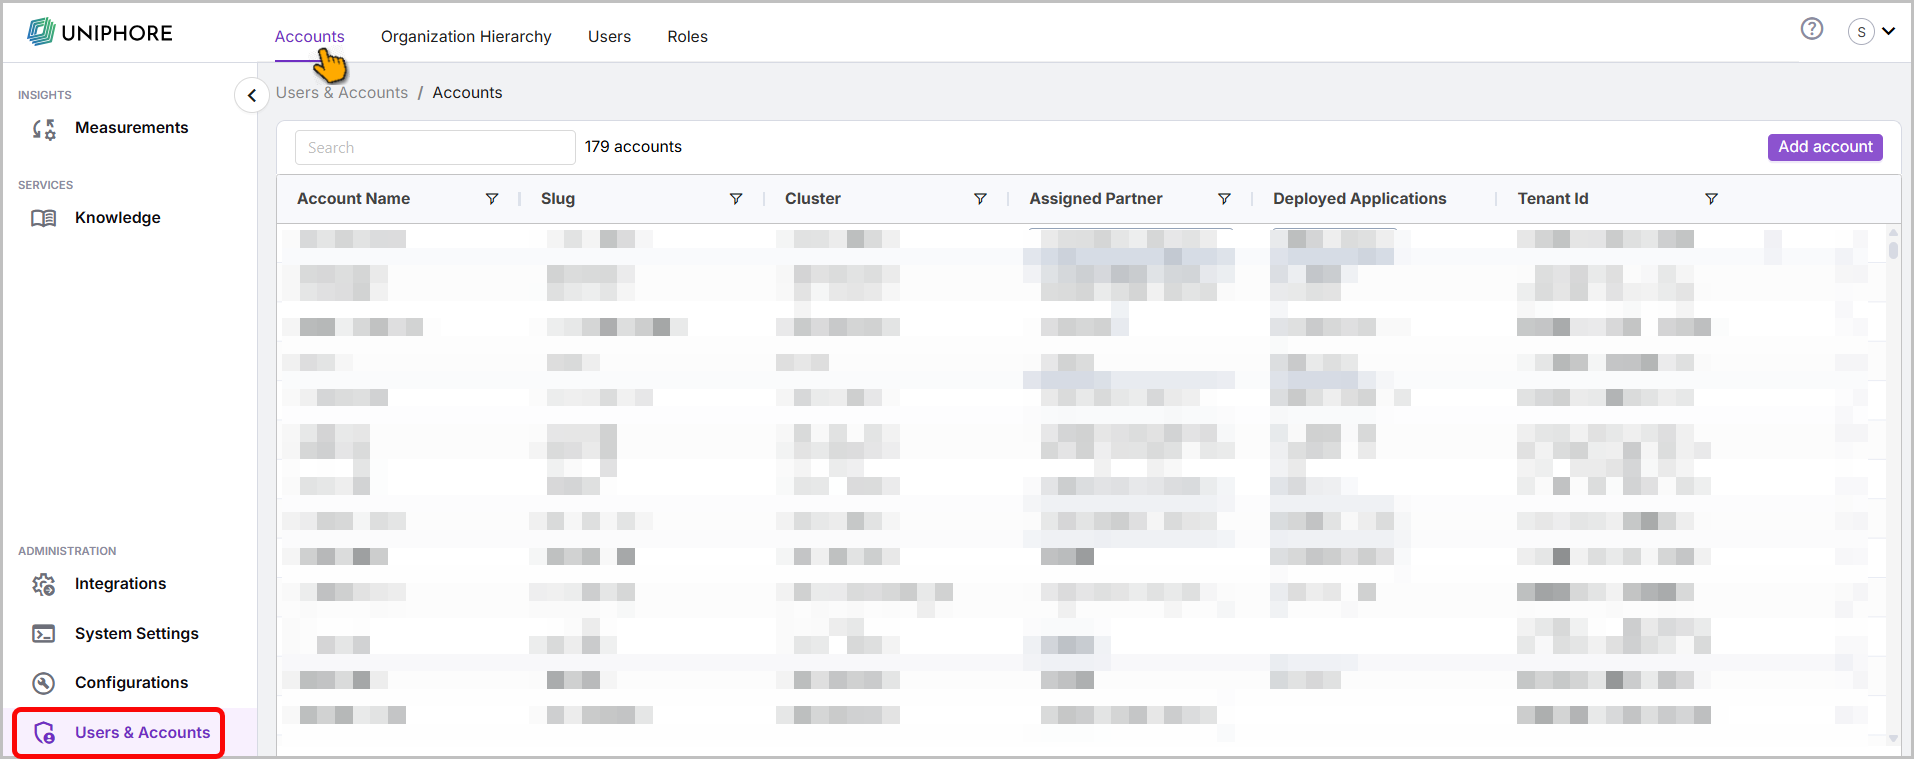
Go to Users & Accounts, click Accounts at the top, and then click the Add account button in the top right.
In the Add account dialog, enter the following details for the new account:
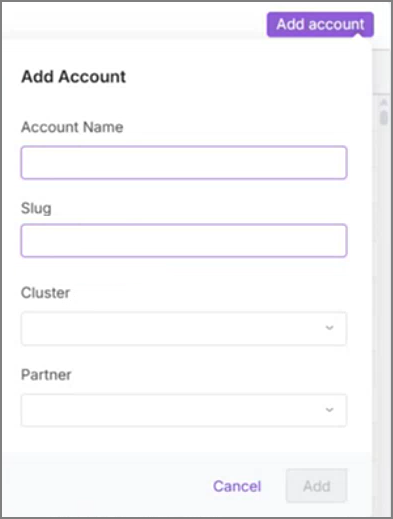
Account name: The name of the account.
Slug: The slug for the URL used to access the account.
Cluster: The region of the cluster to deploy the account in.
Partner: Select the Partner account to which you want to add the new account. If you're logged in as a Partner Admin, this will already be selected based on your login credentials.
Once you've reviewed and confirmed the details, click Add.
The new account is added. See below for the steps to map or add the administrator to the account.
Map Partner, Account, and Add Roles to a User
Once the account is created, the existing user should be mapped to the Partner and Account. Then, you should assign the required roles.
Note
Ensure the Partner and Account are set to All in the top pane.
Go to Users & Accounts and click Users at the top.
Use the Search bar to find the user you want to map as an administrator to the account, then click the user's name.
In General Information, the First name, Last name, and Email are pre-filled.
In Partner, Accounts & Roles, select the Partner and from the dropdown. The Accounts available for the Partner are listed.
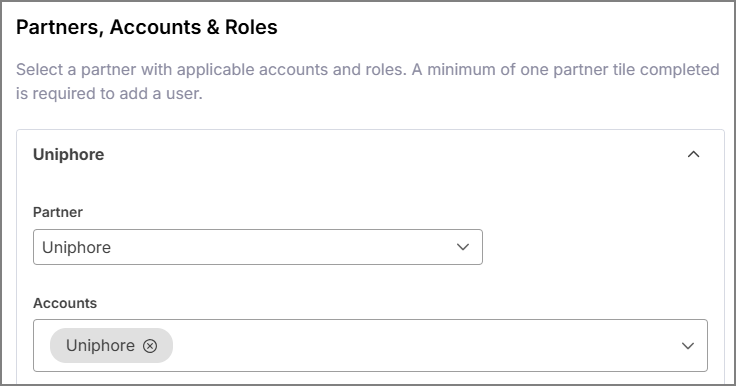
Select one or more Accounts from the dropdown.
Under Roles, select the Account Administrator role and other required roles.
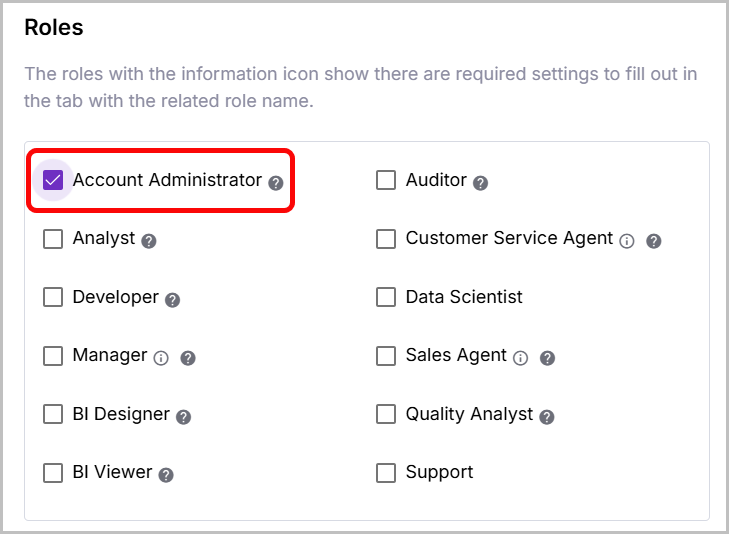
Once you've reviewed and confirmed the details, click Update User.
Add a User with Administrator Role
Once the new account is created in the Uniphore Admin Portal, an administrator user should be added to the account. This administrator can then log in to the account and easily view and configure users, the Organization Hierarchy, and application-specific configuration.
You can either add an existing user as an administrator or add a new user to the account.
Add an Existing User as an Administrator of an Account
Go to Users & Accounts and click Users at the top.
Use the Search bar to find the user you want to add as an administrator to the account. Enter the user name in the Search bar and press Enter. The user details are shown.
To edit or add Roles, double-click the user name.
Under Accounts & Roles, select the account from the Accounts dropdown. A new tab under Roles will be added for the account. Under Roles in the tab for the new account, make sure the Account Administrator role is selected.
Once you've reviewed and confirmed the details, click the Update User.
Add a New User as an Administrator of the Account
Go to Users & Accounts and click Users at the top.
Click + Add User at the top right corner, enter the First name, Last name, and the Email for the new admin user.
Under Accounts & Roles, select the account from the Accounts dropdown. Under Roles, select the Account Administrator role.
Once you've reviewed and confirmed the details, click Add User at the bottom to add the new user.
The system sends a password reset link to the email address you entered. Use the link to set a password for the new administrator user.
Add a User with Support Role
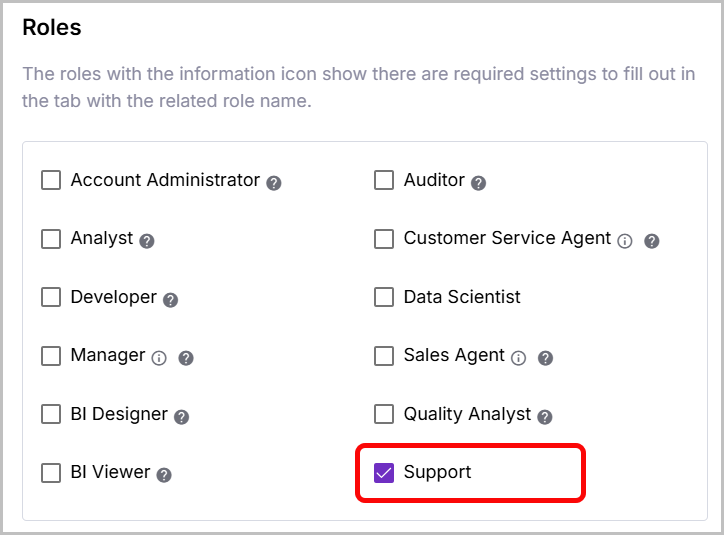
The support role provides permission to view selected Self-Service Agent components on the X-Platform for monitoring and support purposes.
To add a Support role, follow steps 1 and 2. In the Accounts & Roles, select the account from the Accounts dropdown. Under the Roles, select the Support role. Once you've reviewed and confirmed the details, click Add User at the bottom to add the new user. The system sends a password reset link to the email address you entered. Use the link to set a password for the new support user.
 |
Deploy Application
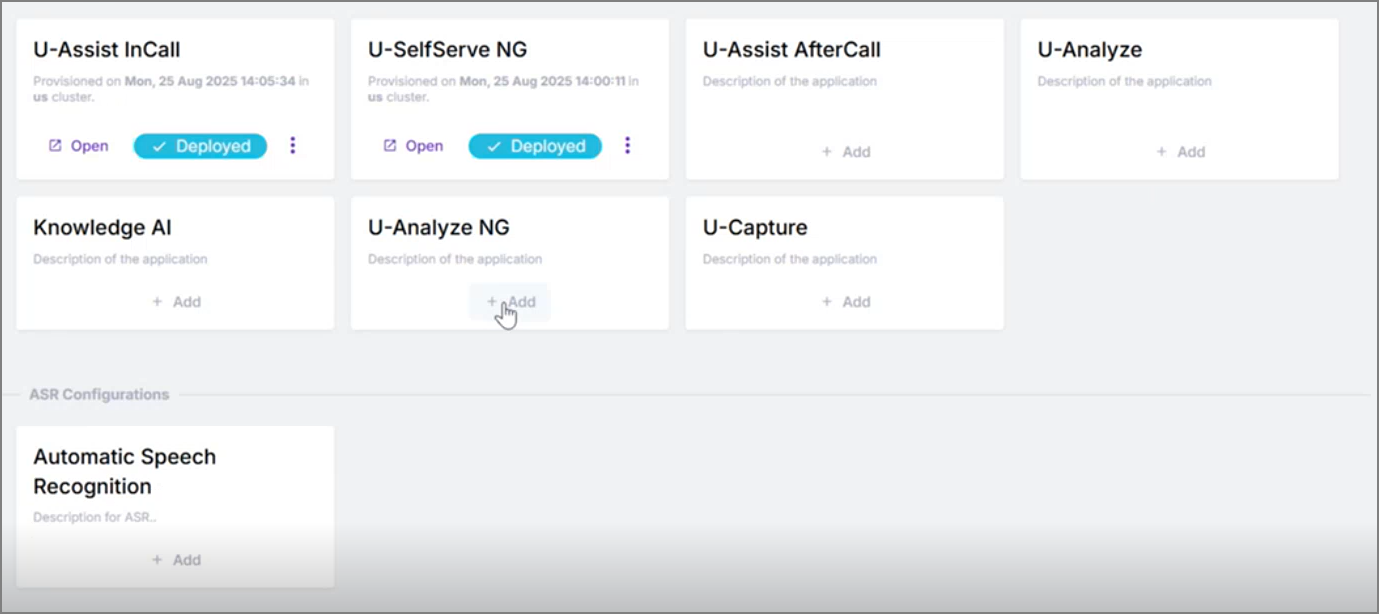
After creating an account, a Partner Admin or Super Admin can deploy applications to it as needed. For U-Self Serve, it is required to deploy U-Self Serve NG and U-Assist In-Call applications.
To Deploy U-Self Serve:
Go to https://ng.uniphore.com and log in as a Partner Admin.
Go to Accounts at the top and select the Account for which you want to deploy the application. Locate the Account and click > at the end of the row. The following screen appears.
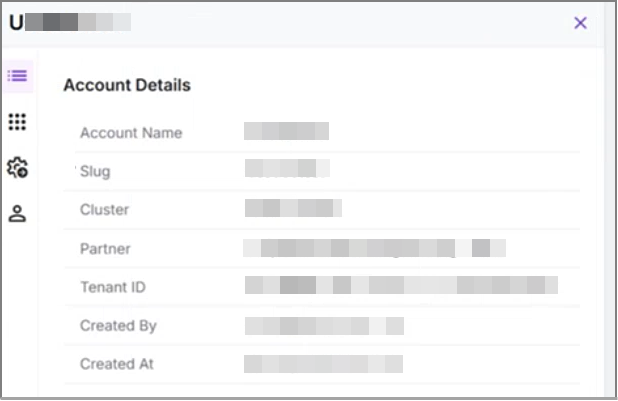
Click
 to see the list of available applications.
Click Edit application, select U-Self Serve NG , and click Deploy.
To deploy U-Self Serve NG, in the Deployment & License Activation, enter the following details:
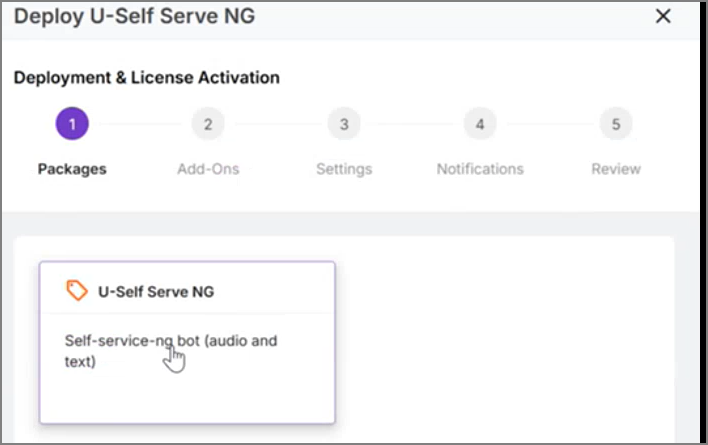
In Packages, select U-Self Serve NG, click Next to continue.
If no Add-Ons are required, click Next to continue.
In Settings, select Deployment Type as Test, and click Next to continue.
In Notifications, assign an Administrator or other users to whom email notifications about application deployment should be sent. Click Next to continue. This is an optional step.
In Review, view the various details set in the previous stages.
When you're ready, click Deploy and activate to deploy the U-Self Serve NG in your account.
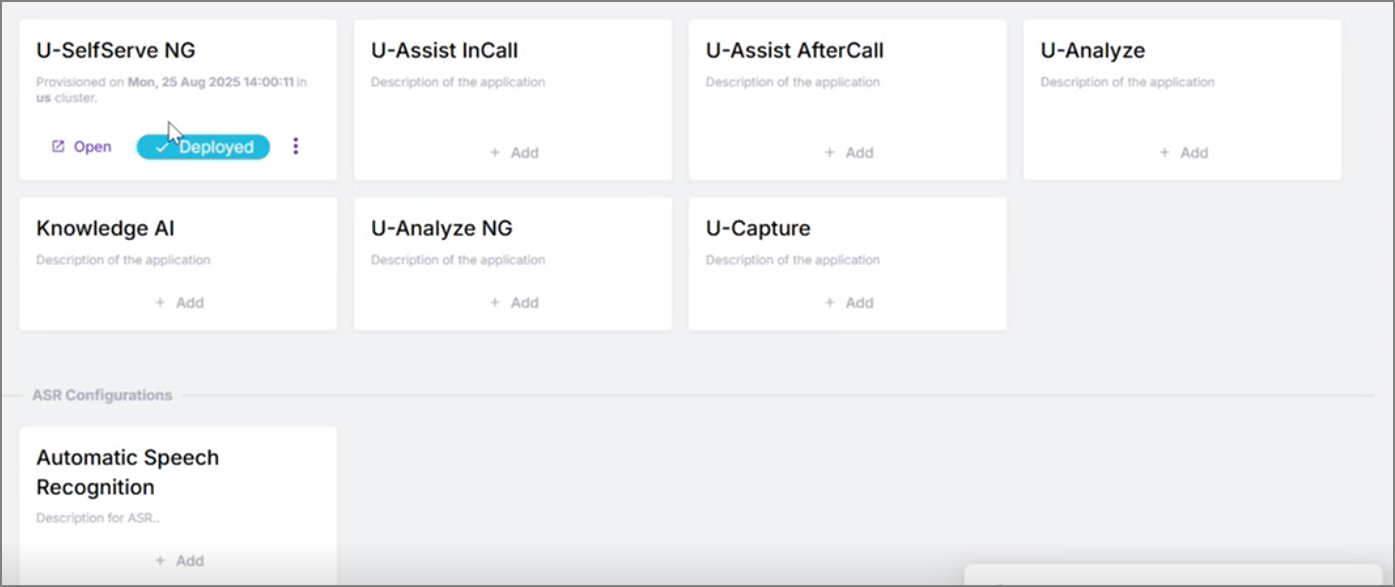
To Deploy U-Assist In-call:
Go to Users & Accounts from the Pane.
In the Accounts section, search and select the Account for which you deployed U-Self Serve NG. Locate the Account and click > at the end of the row. The following screen appears. Click Integrations > Edit Integrations.
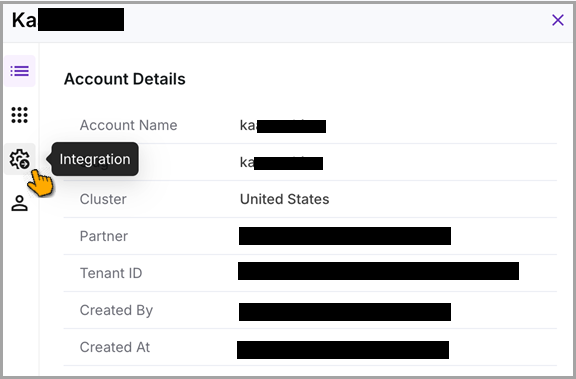
In Apps, you see the available apps. Select U-Assist In-Call and click +Add.
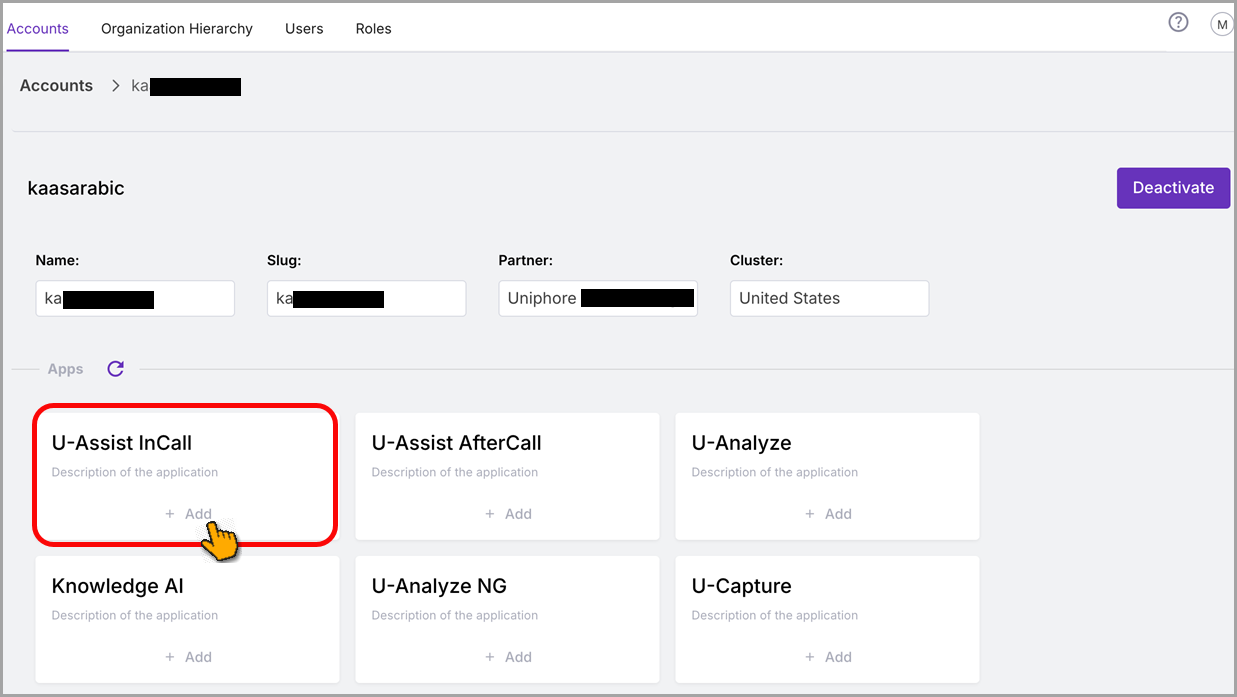
The Provision New App dialog appears. In the Standard Solution Pack, select No pack from the dropdown.
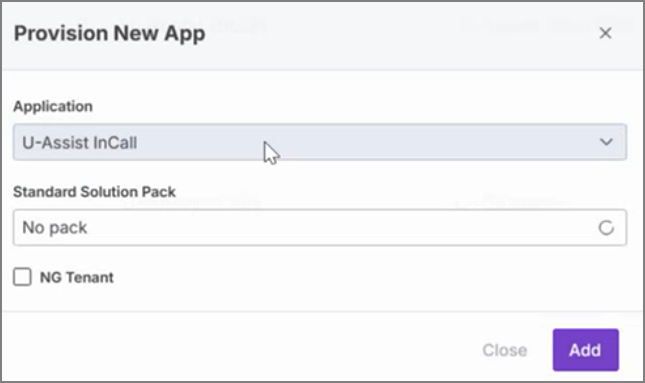
For customers who require the X-Console UI, click Add.
For customers who require NG UI, select the NG Tenant checkbox and click Add.
Once added, you can see that both U-Self Serve NG and U-Assist In-Call apps are in Deployed status.